
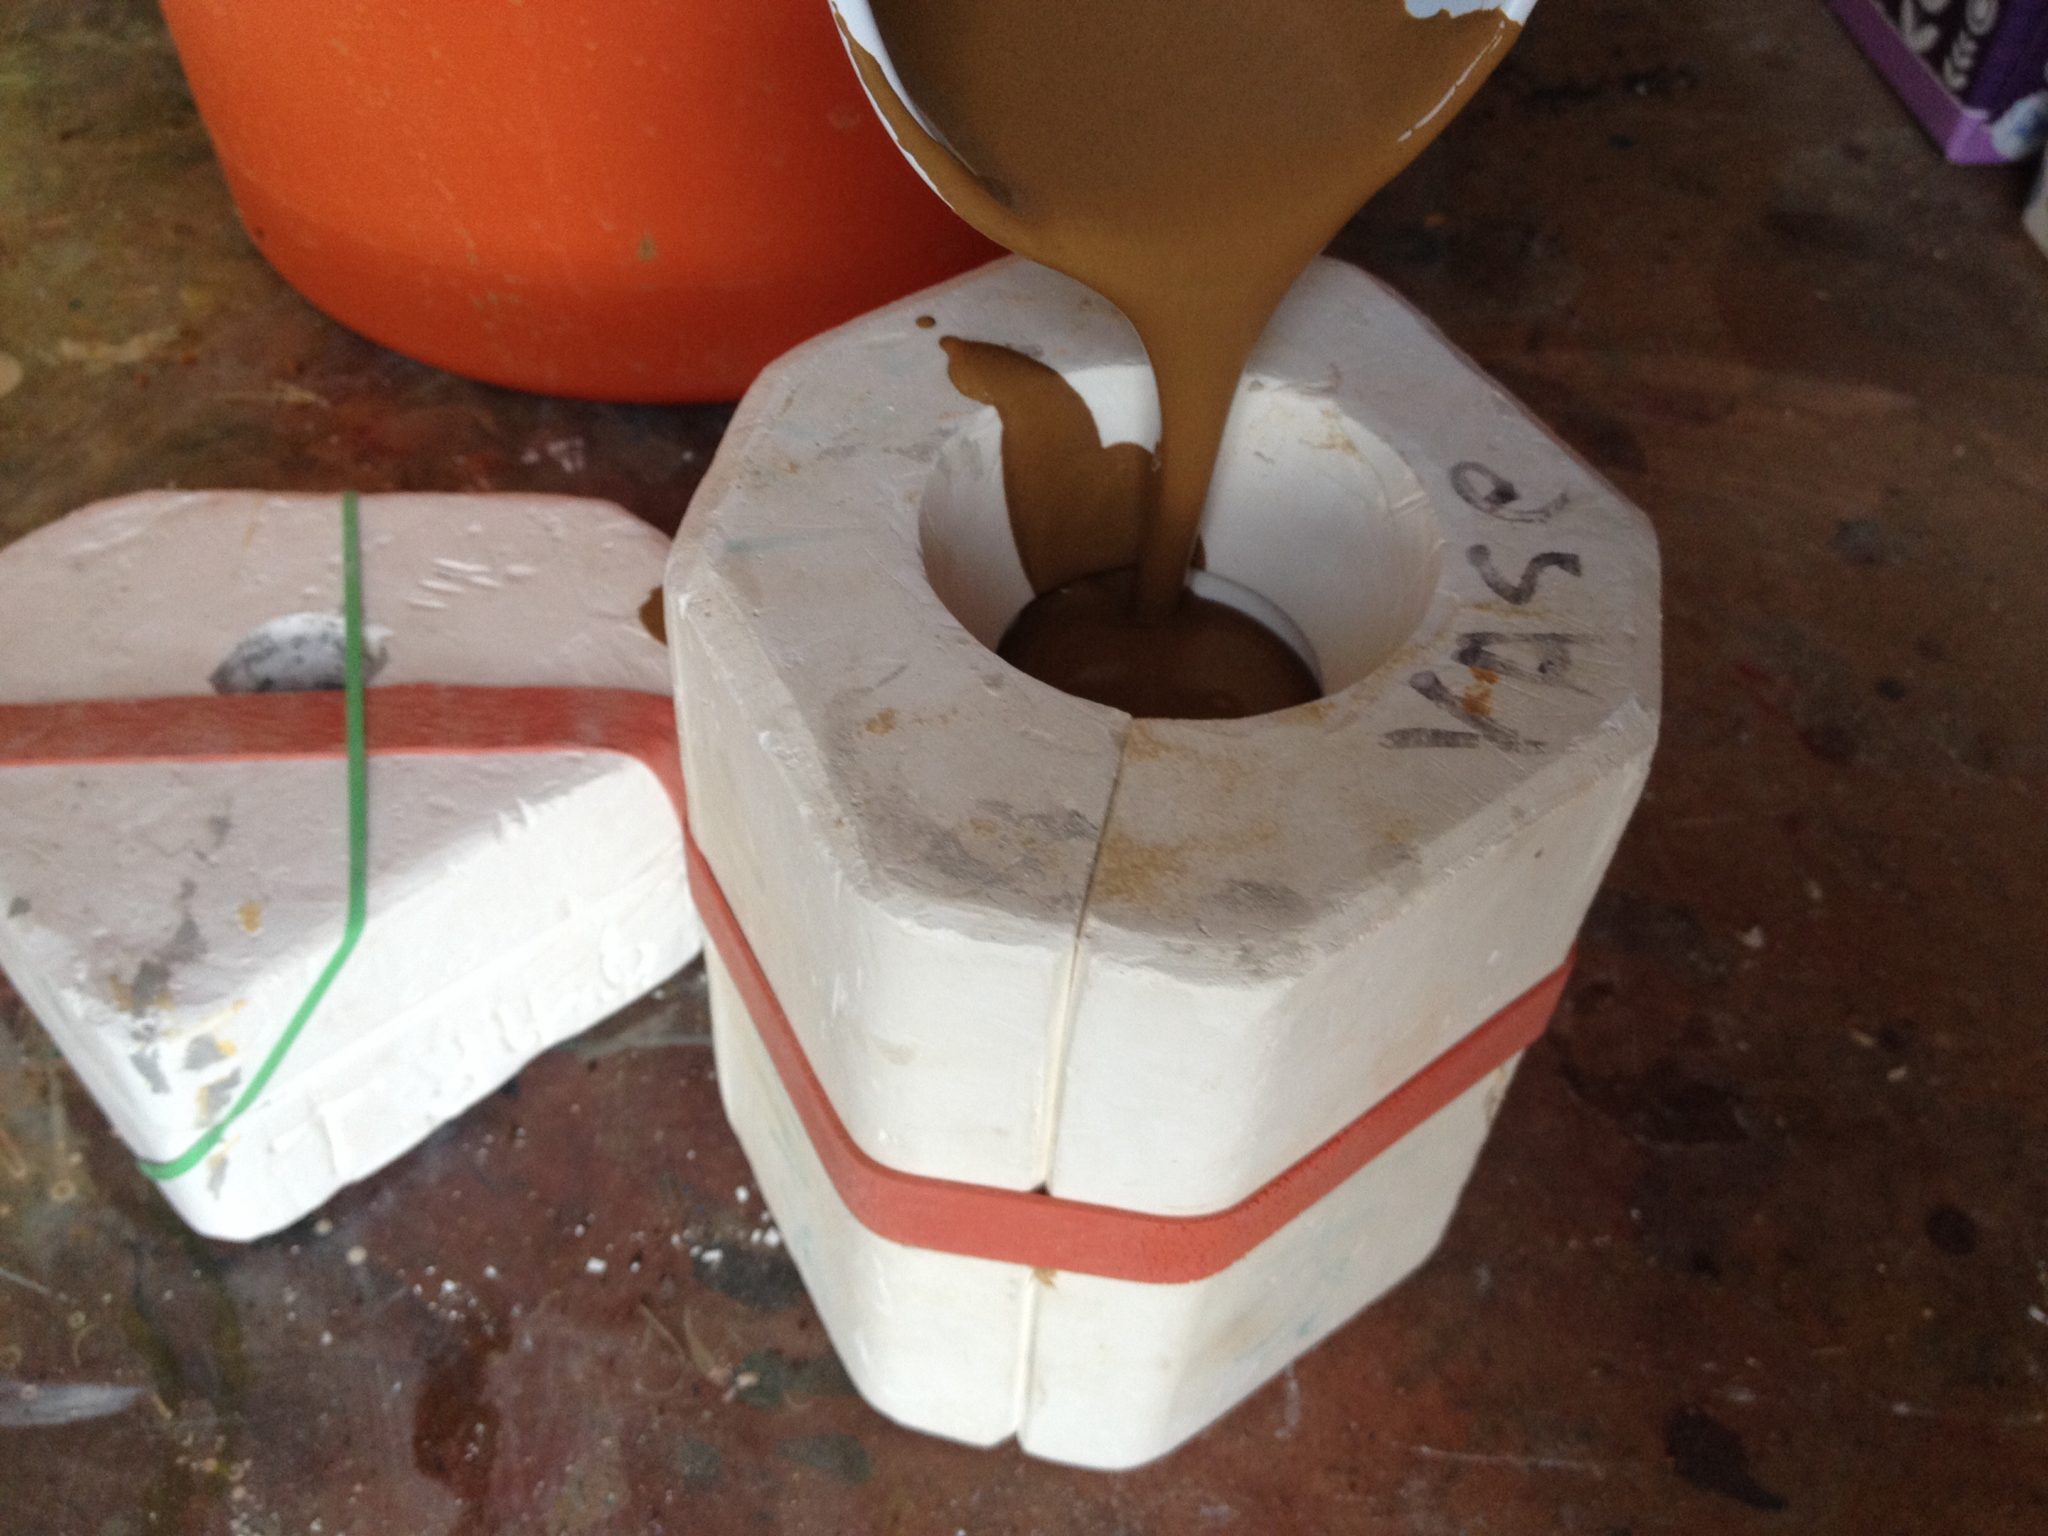
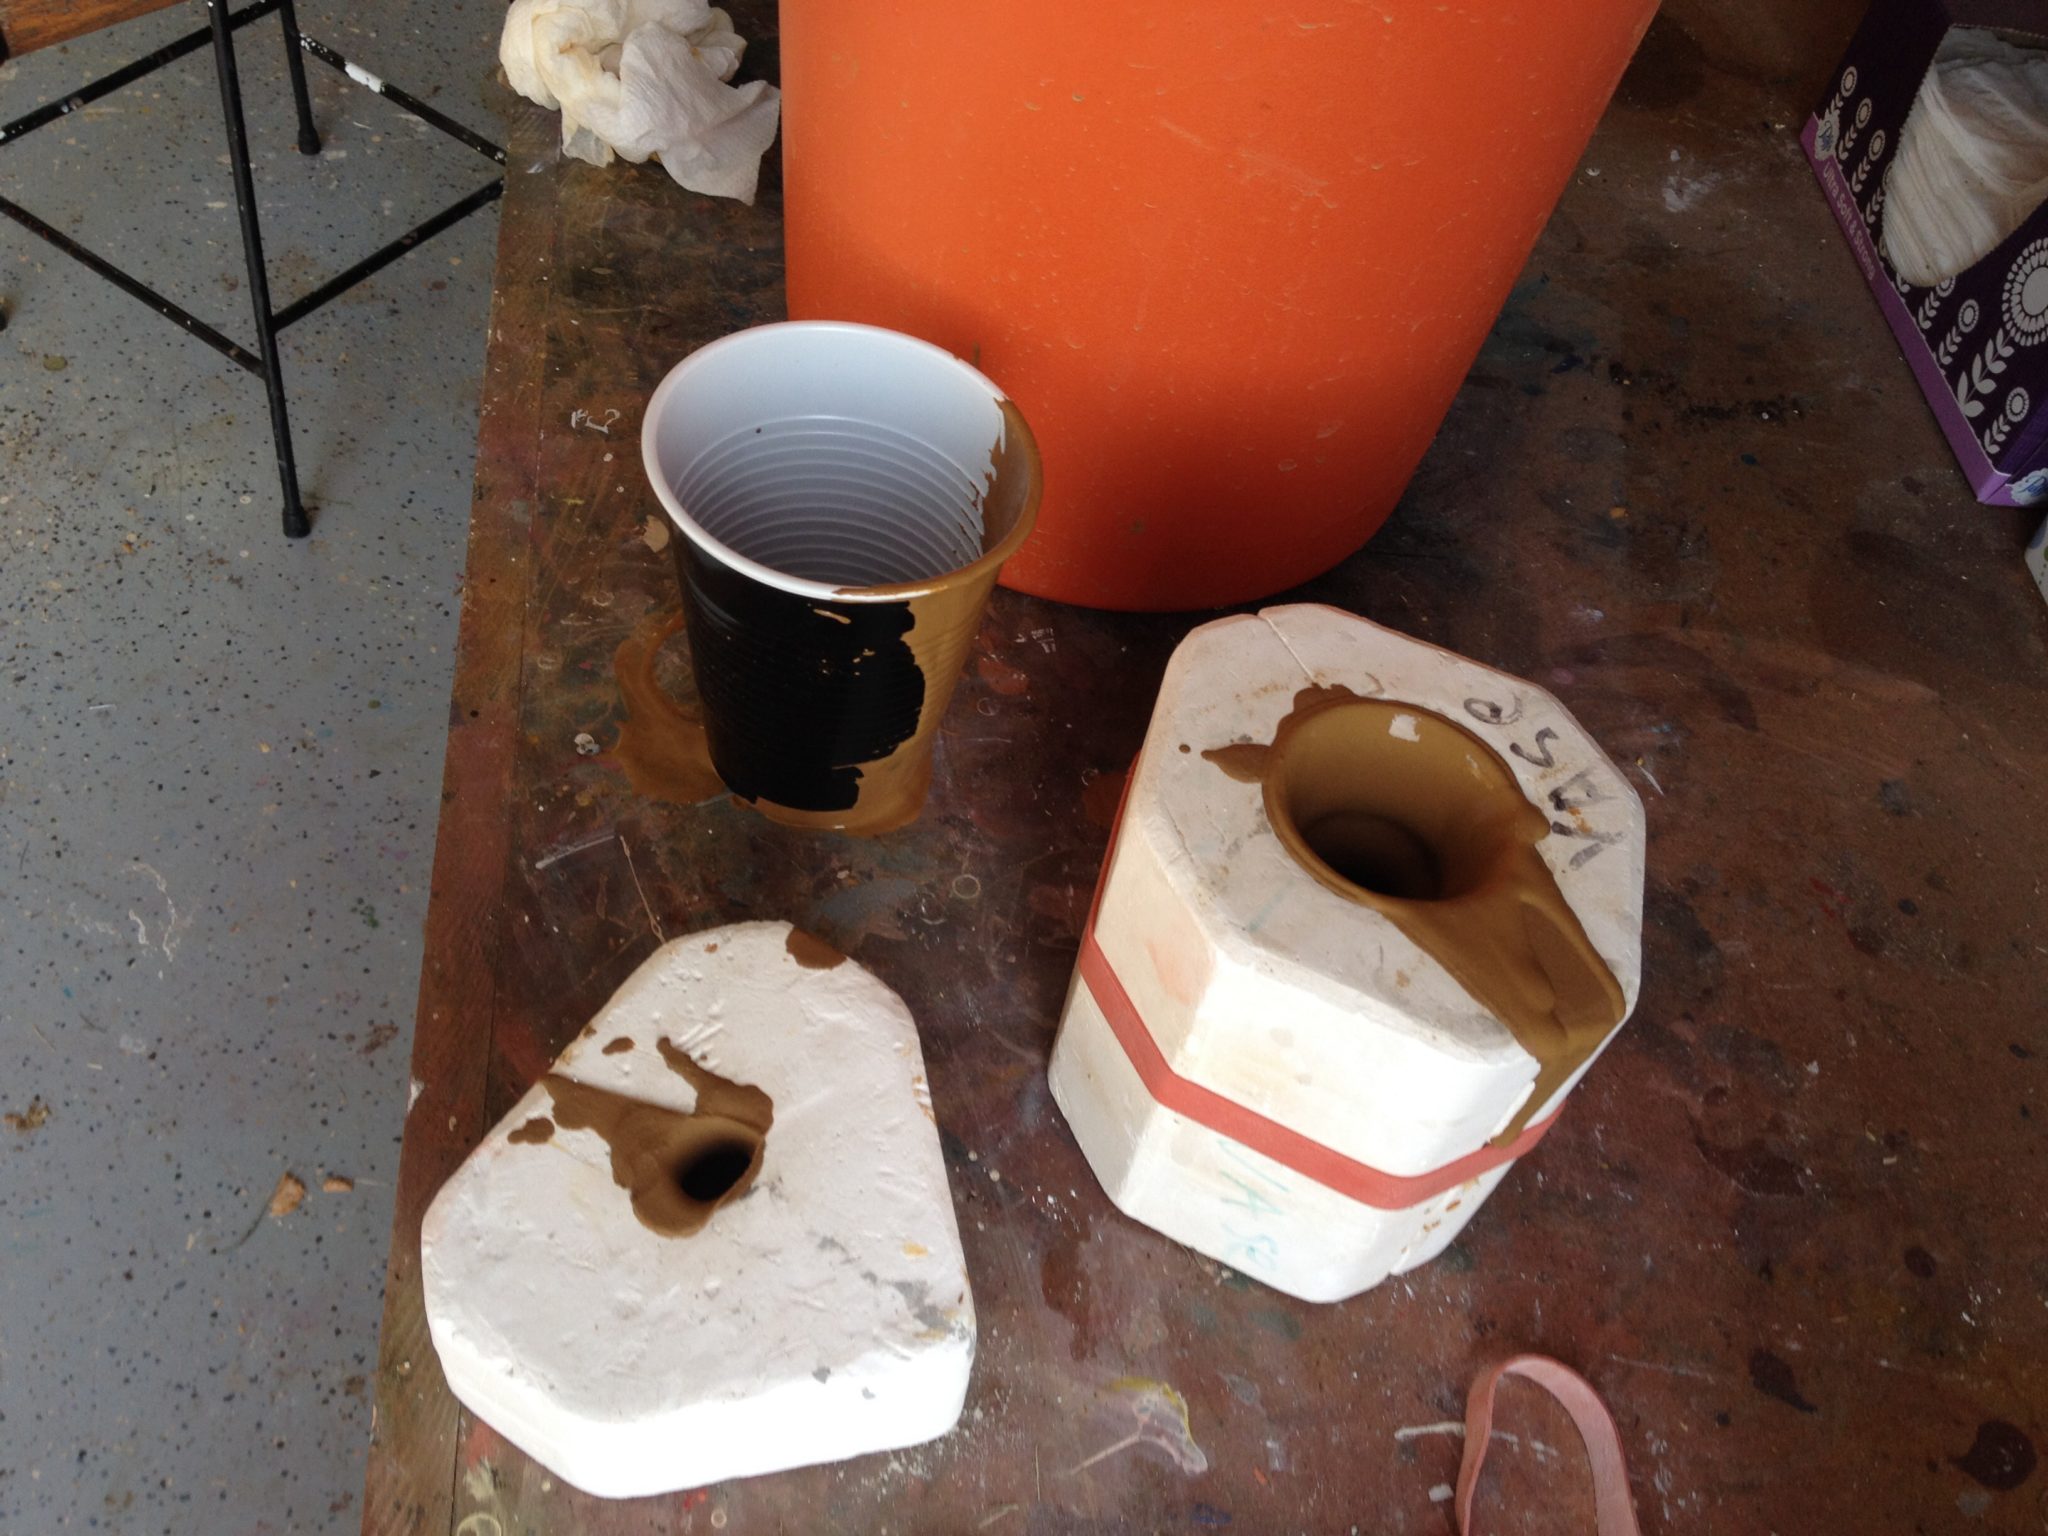
Remember those pieces I poured from my backyard slip?
I couldn’t just leave it as un-fired bisque, right?
I could have just used our little 1.5 cubic foot hobby kiln, but where the fun in that? I wanted to keep with my “from the earth” theme, so I decided to pit-fire the pieces.
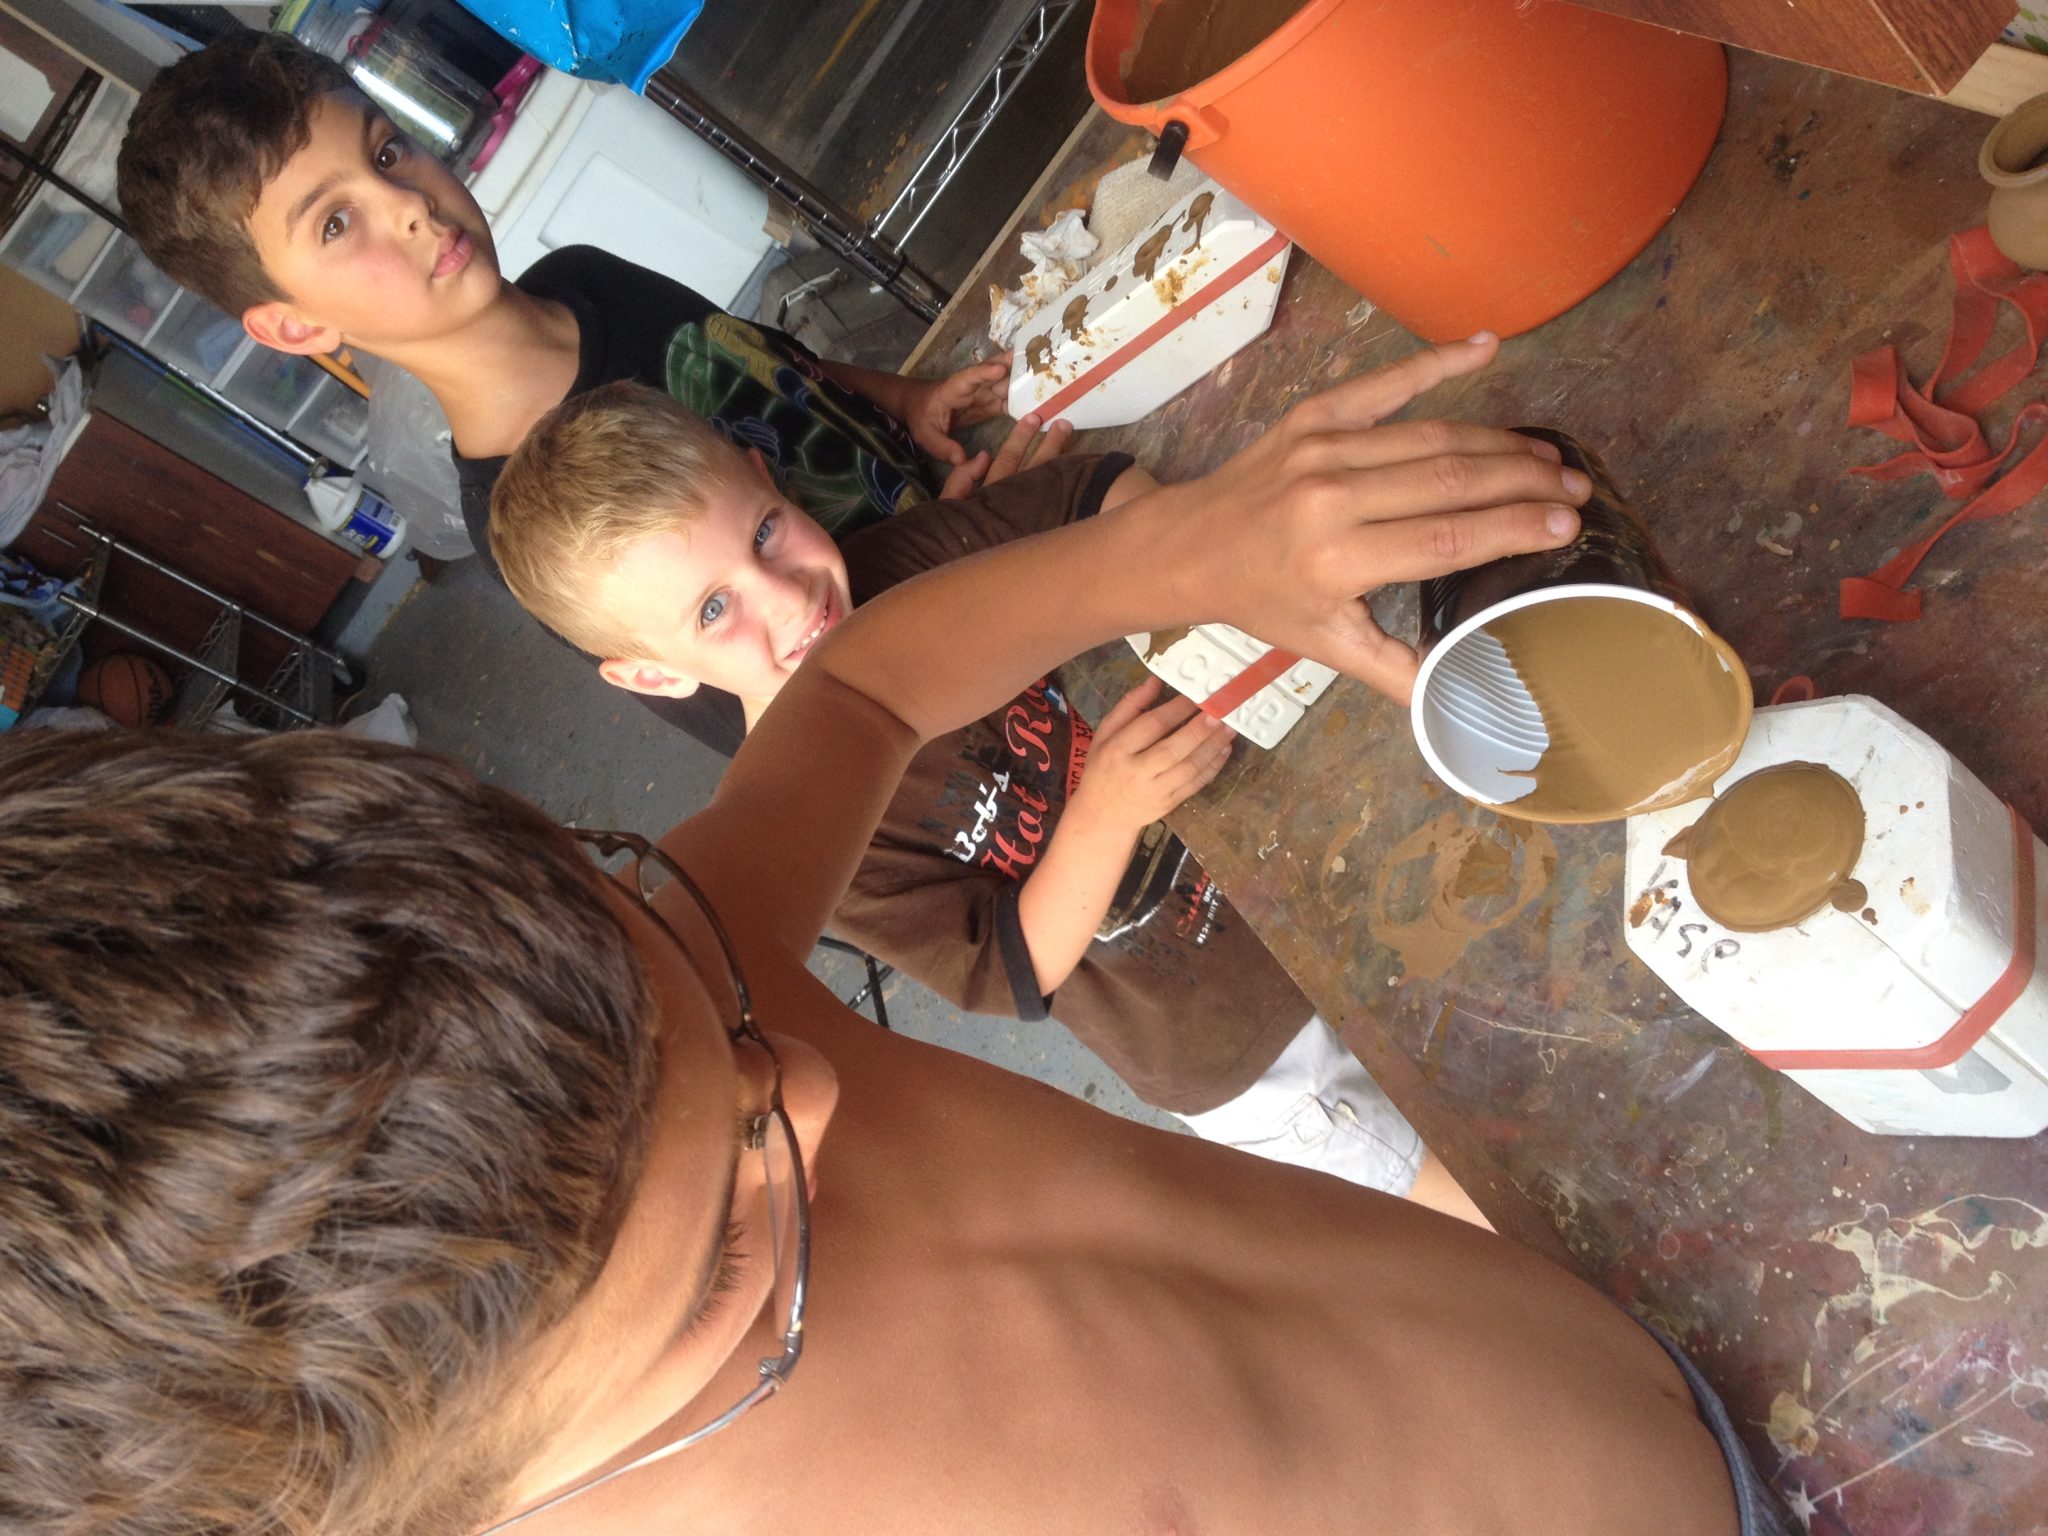
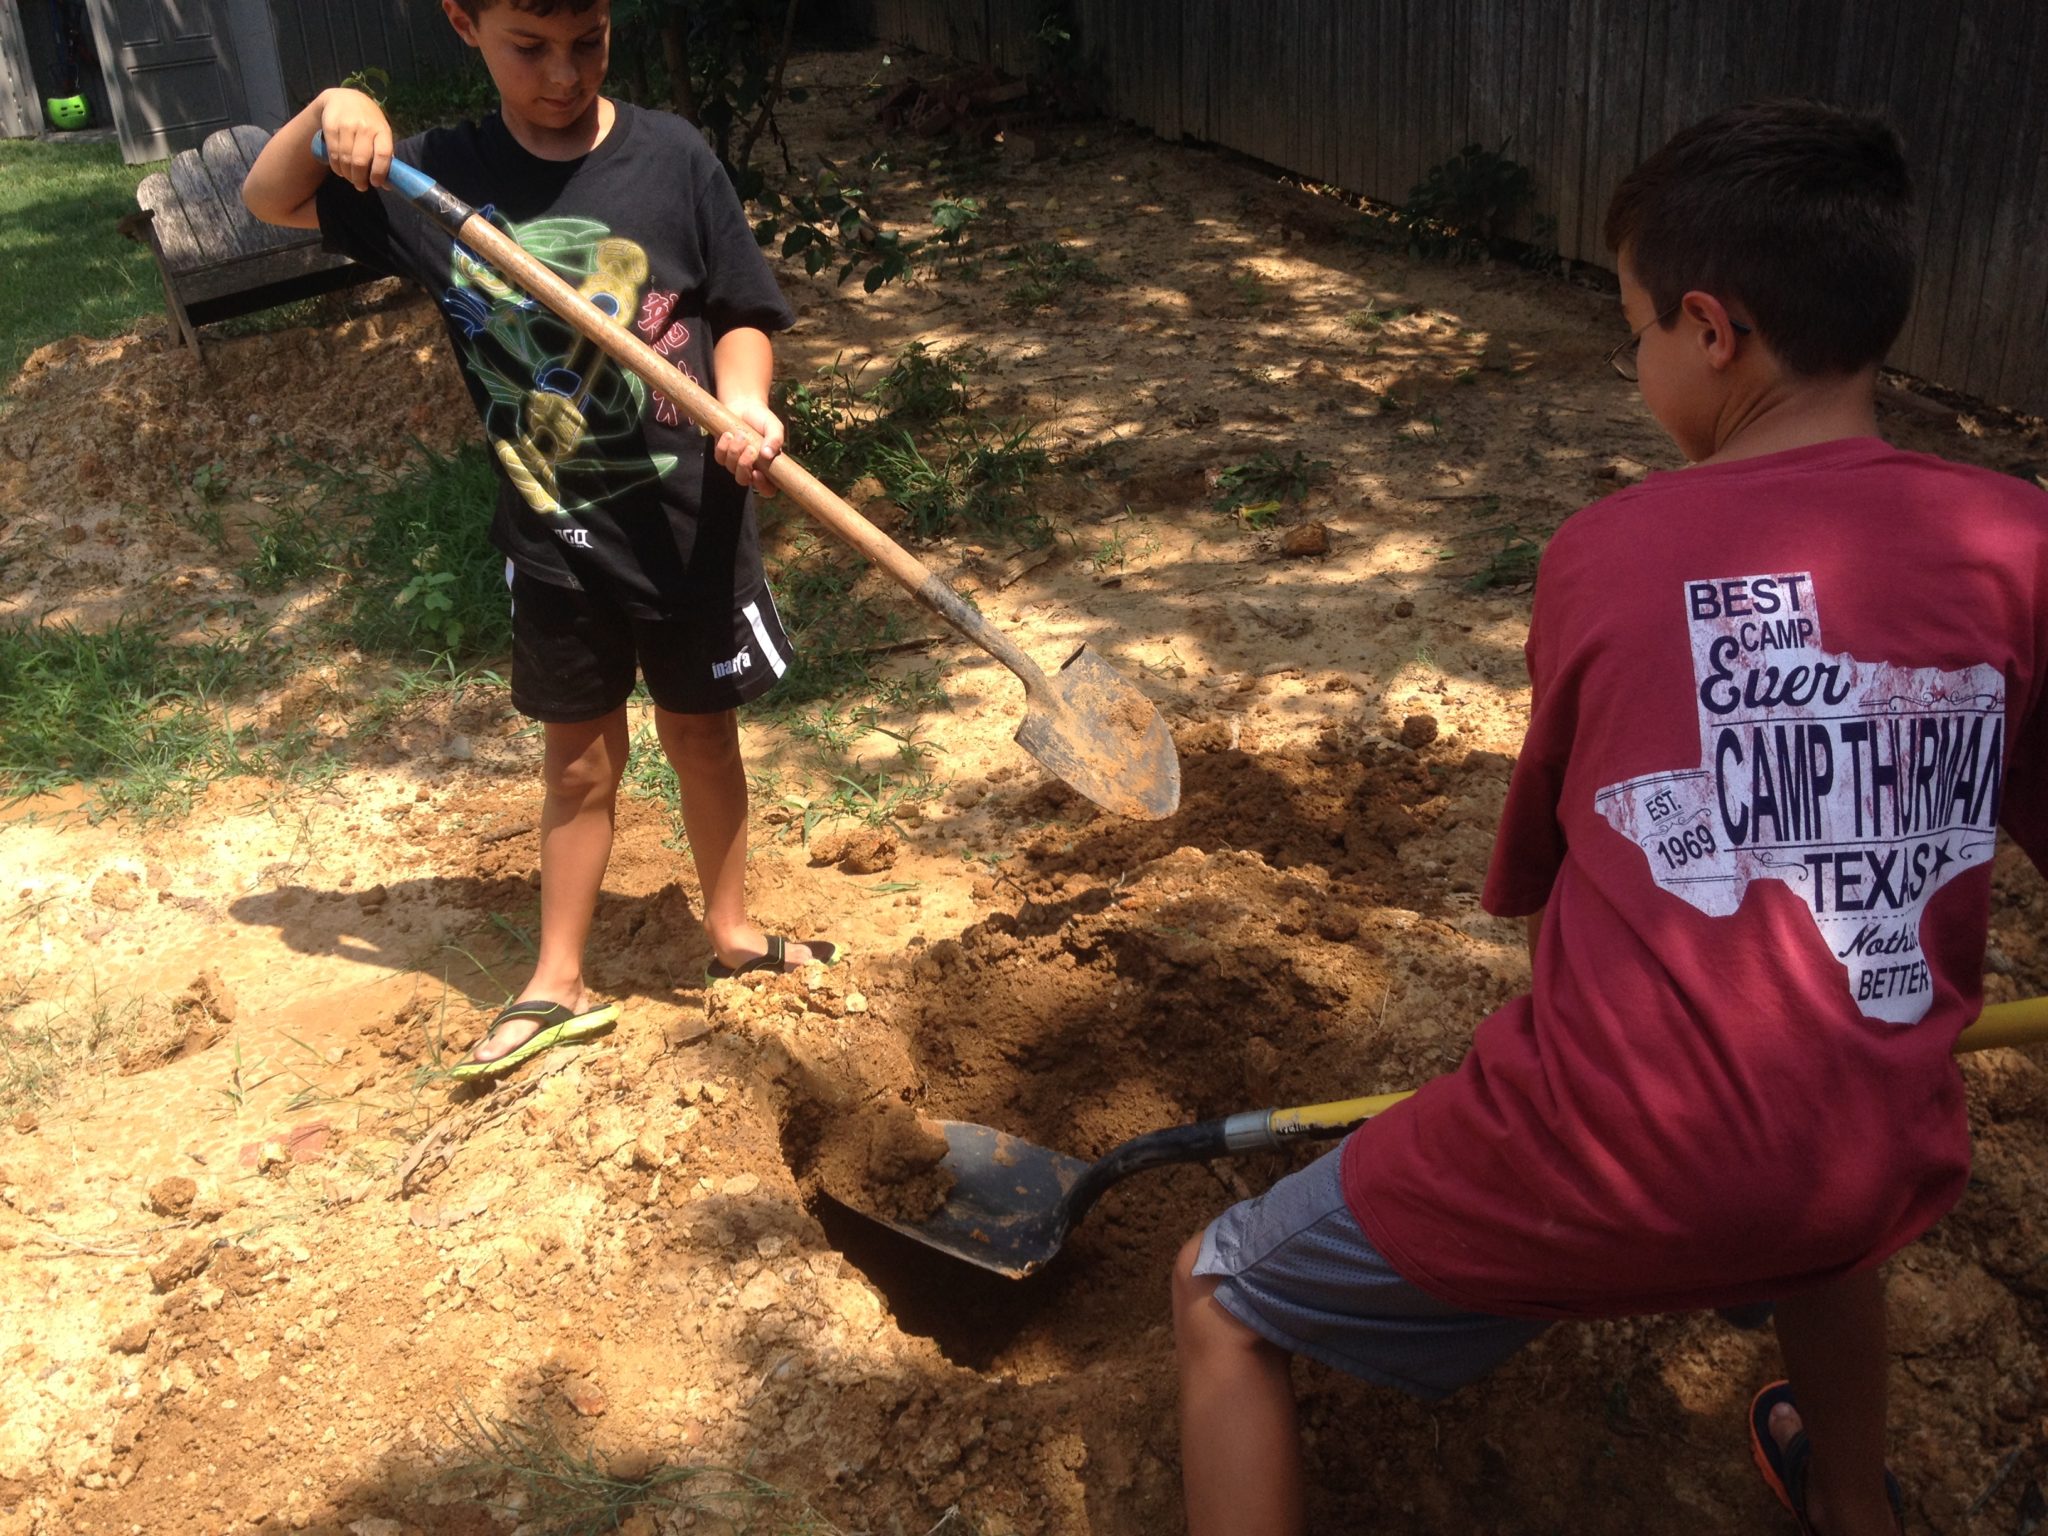
 Well, my boys wanted a turn too! And since I needed them to dig a fire pit in the backyard to cook the pottery, I figured it would be good incentive.
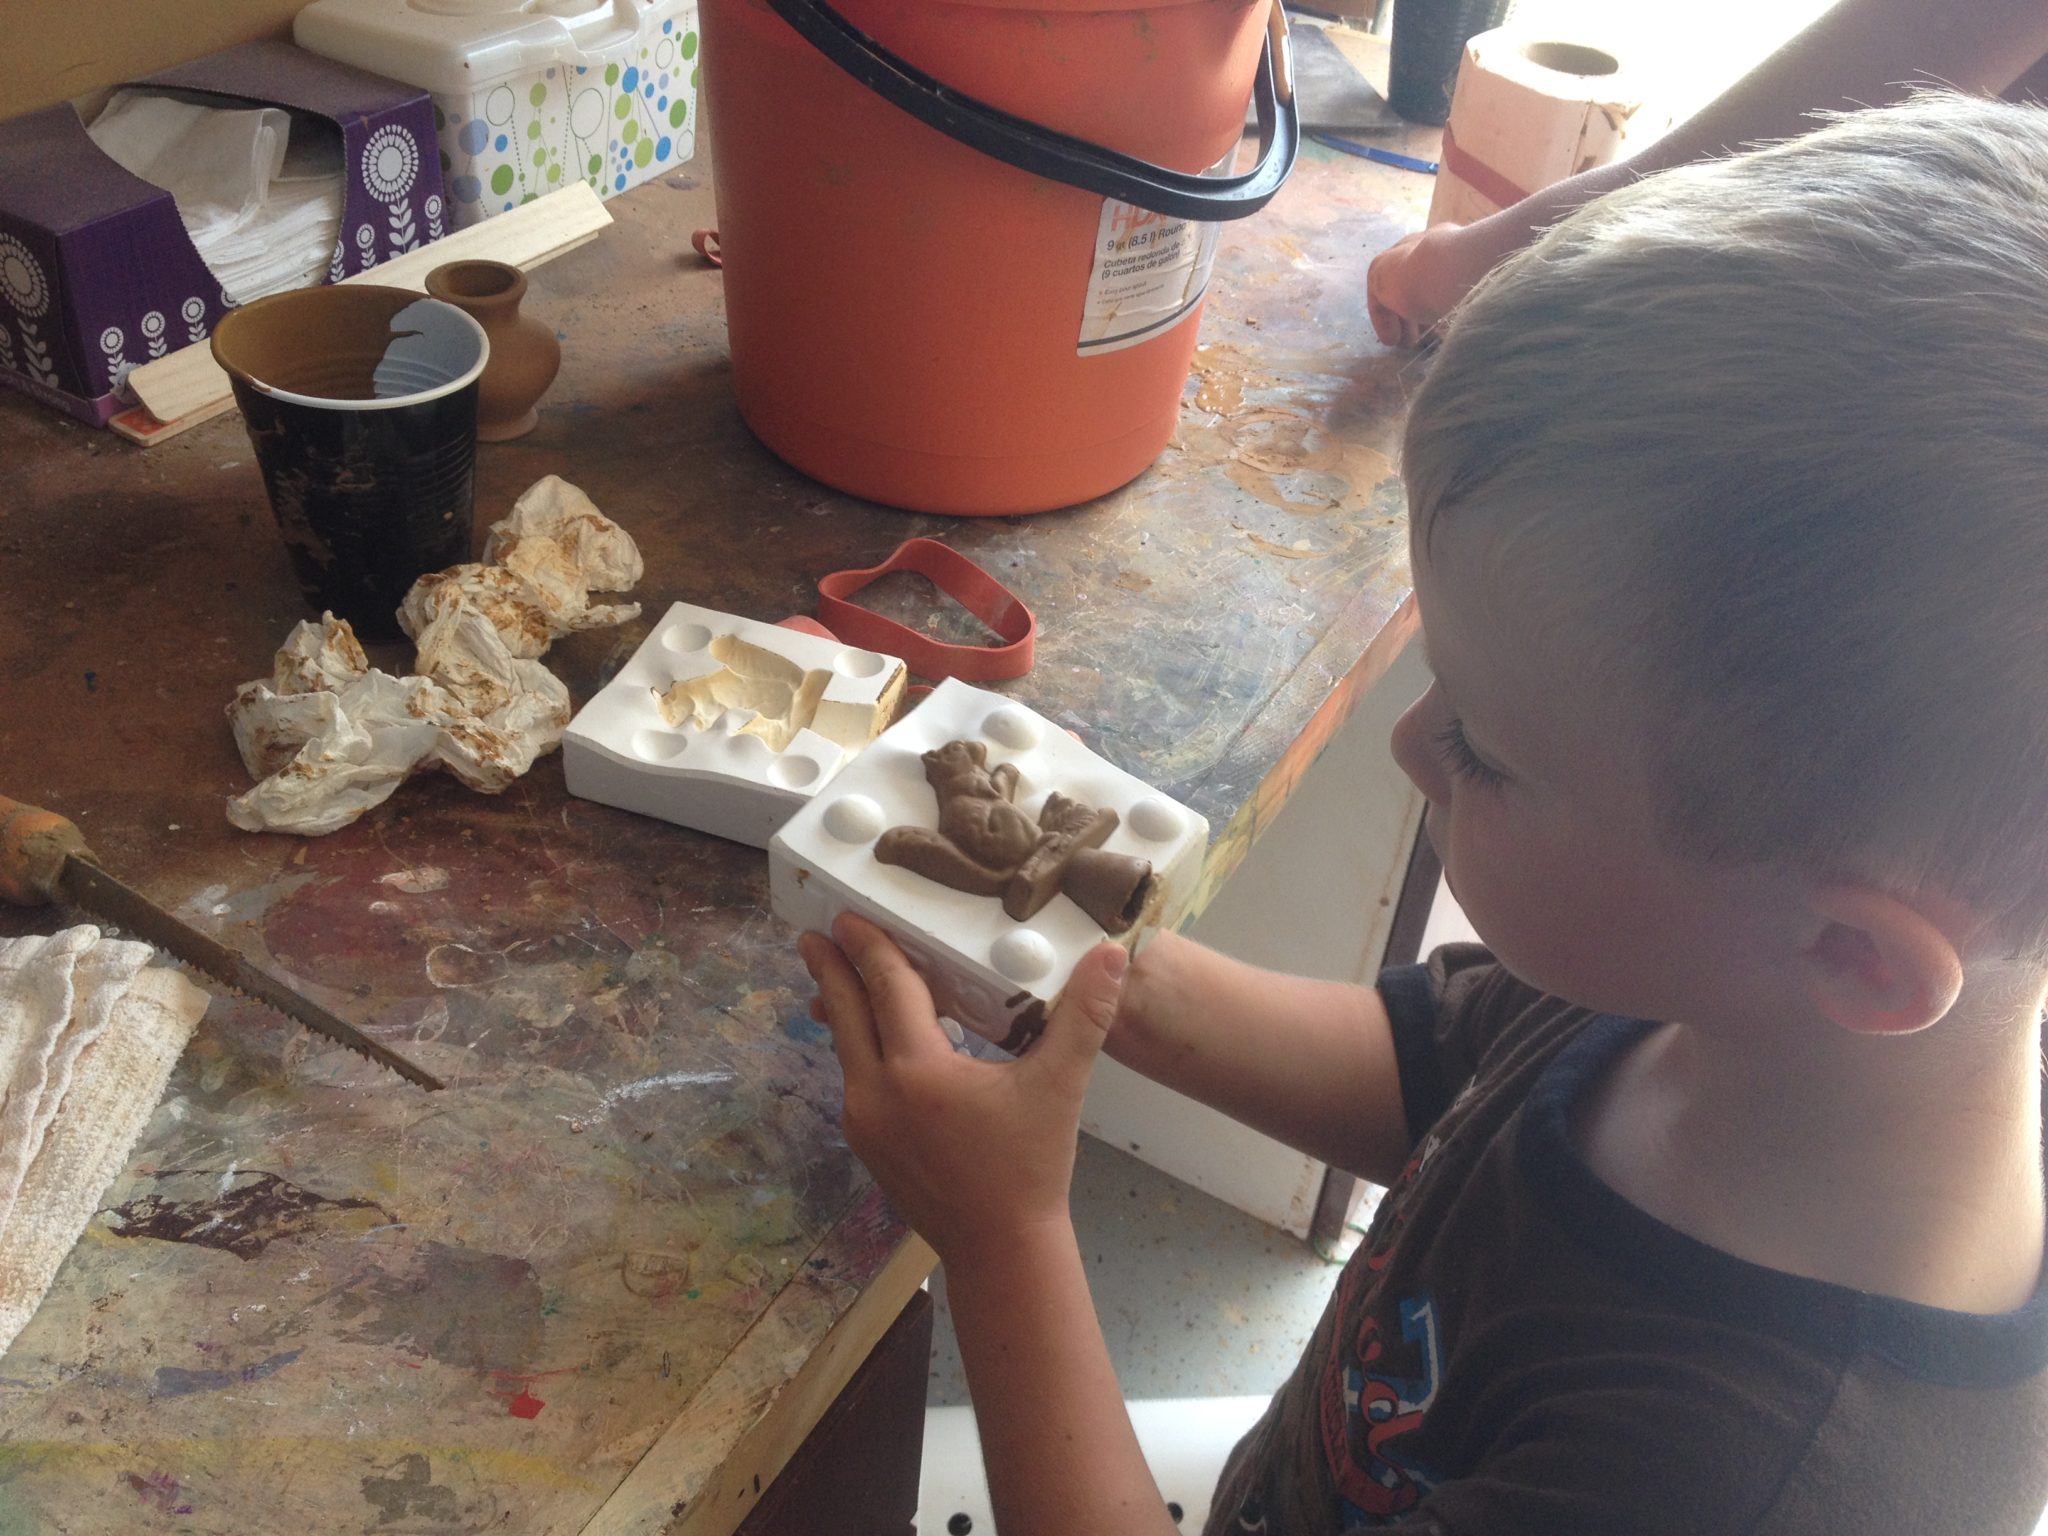
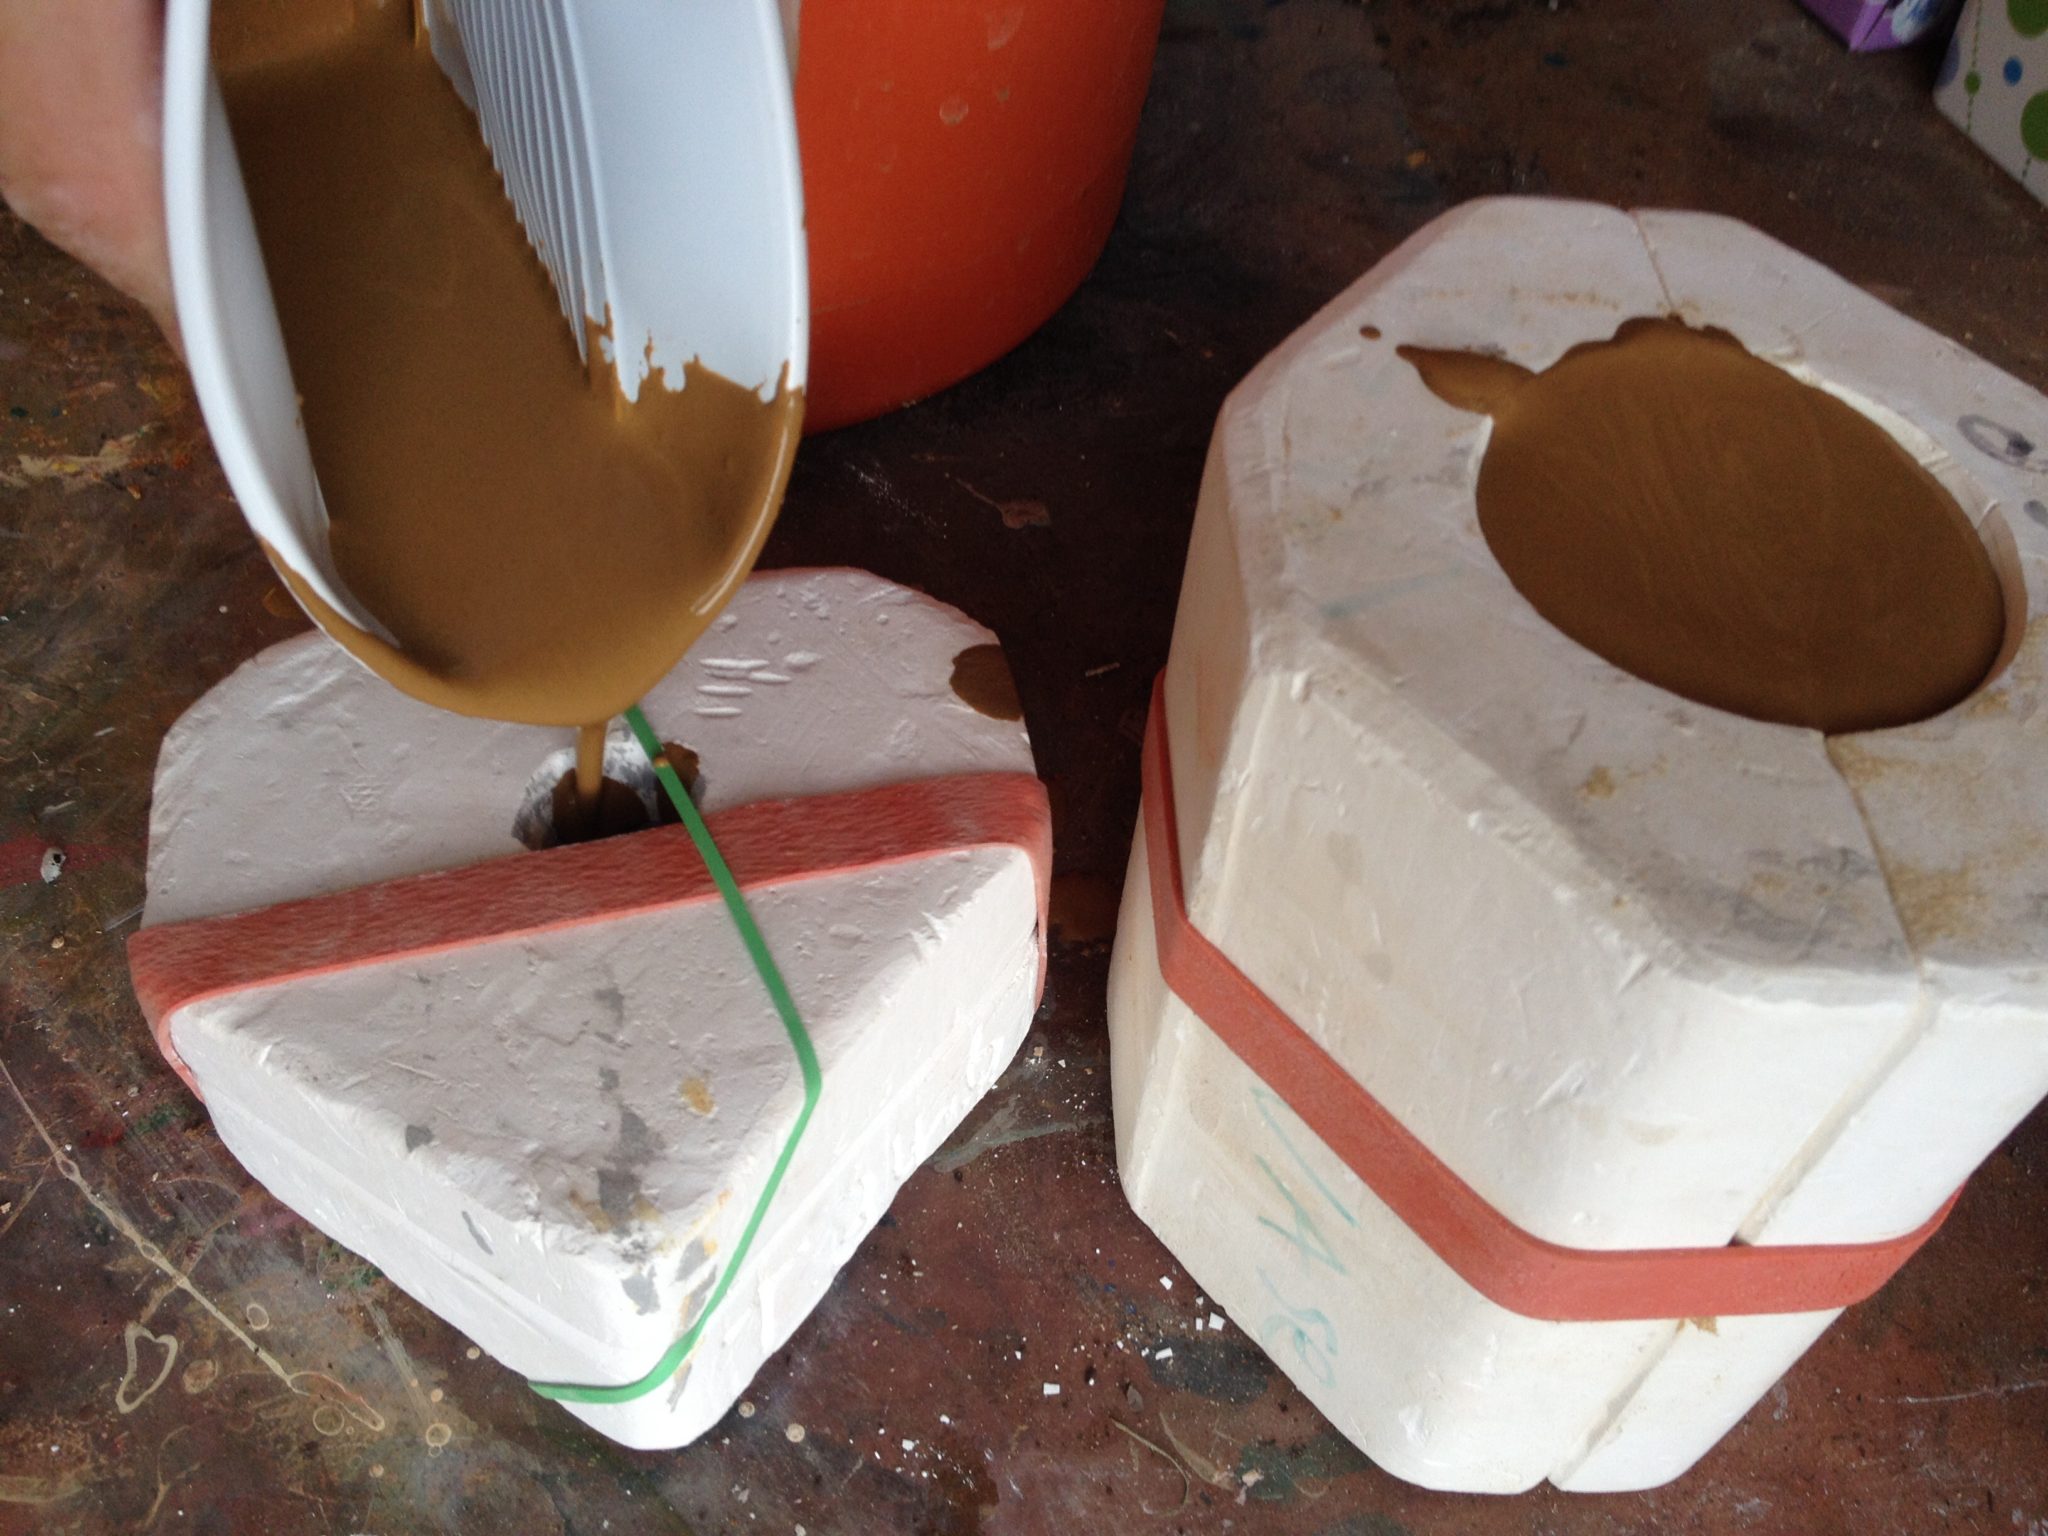
They each got to choose which mold they wanted to pour. JJ chose to use the same one I used. Daniel chose a mold that had four tiny birds. And Elijah chose a squirrel.
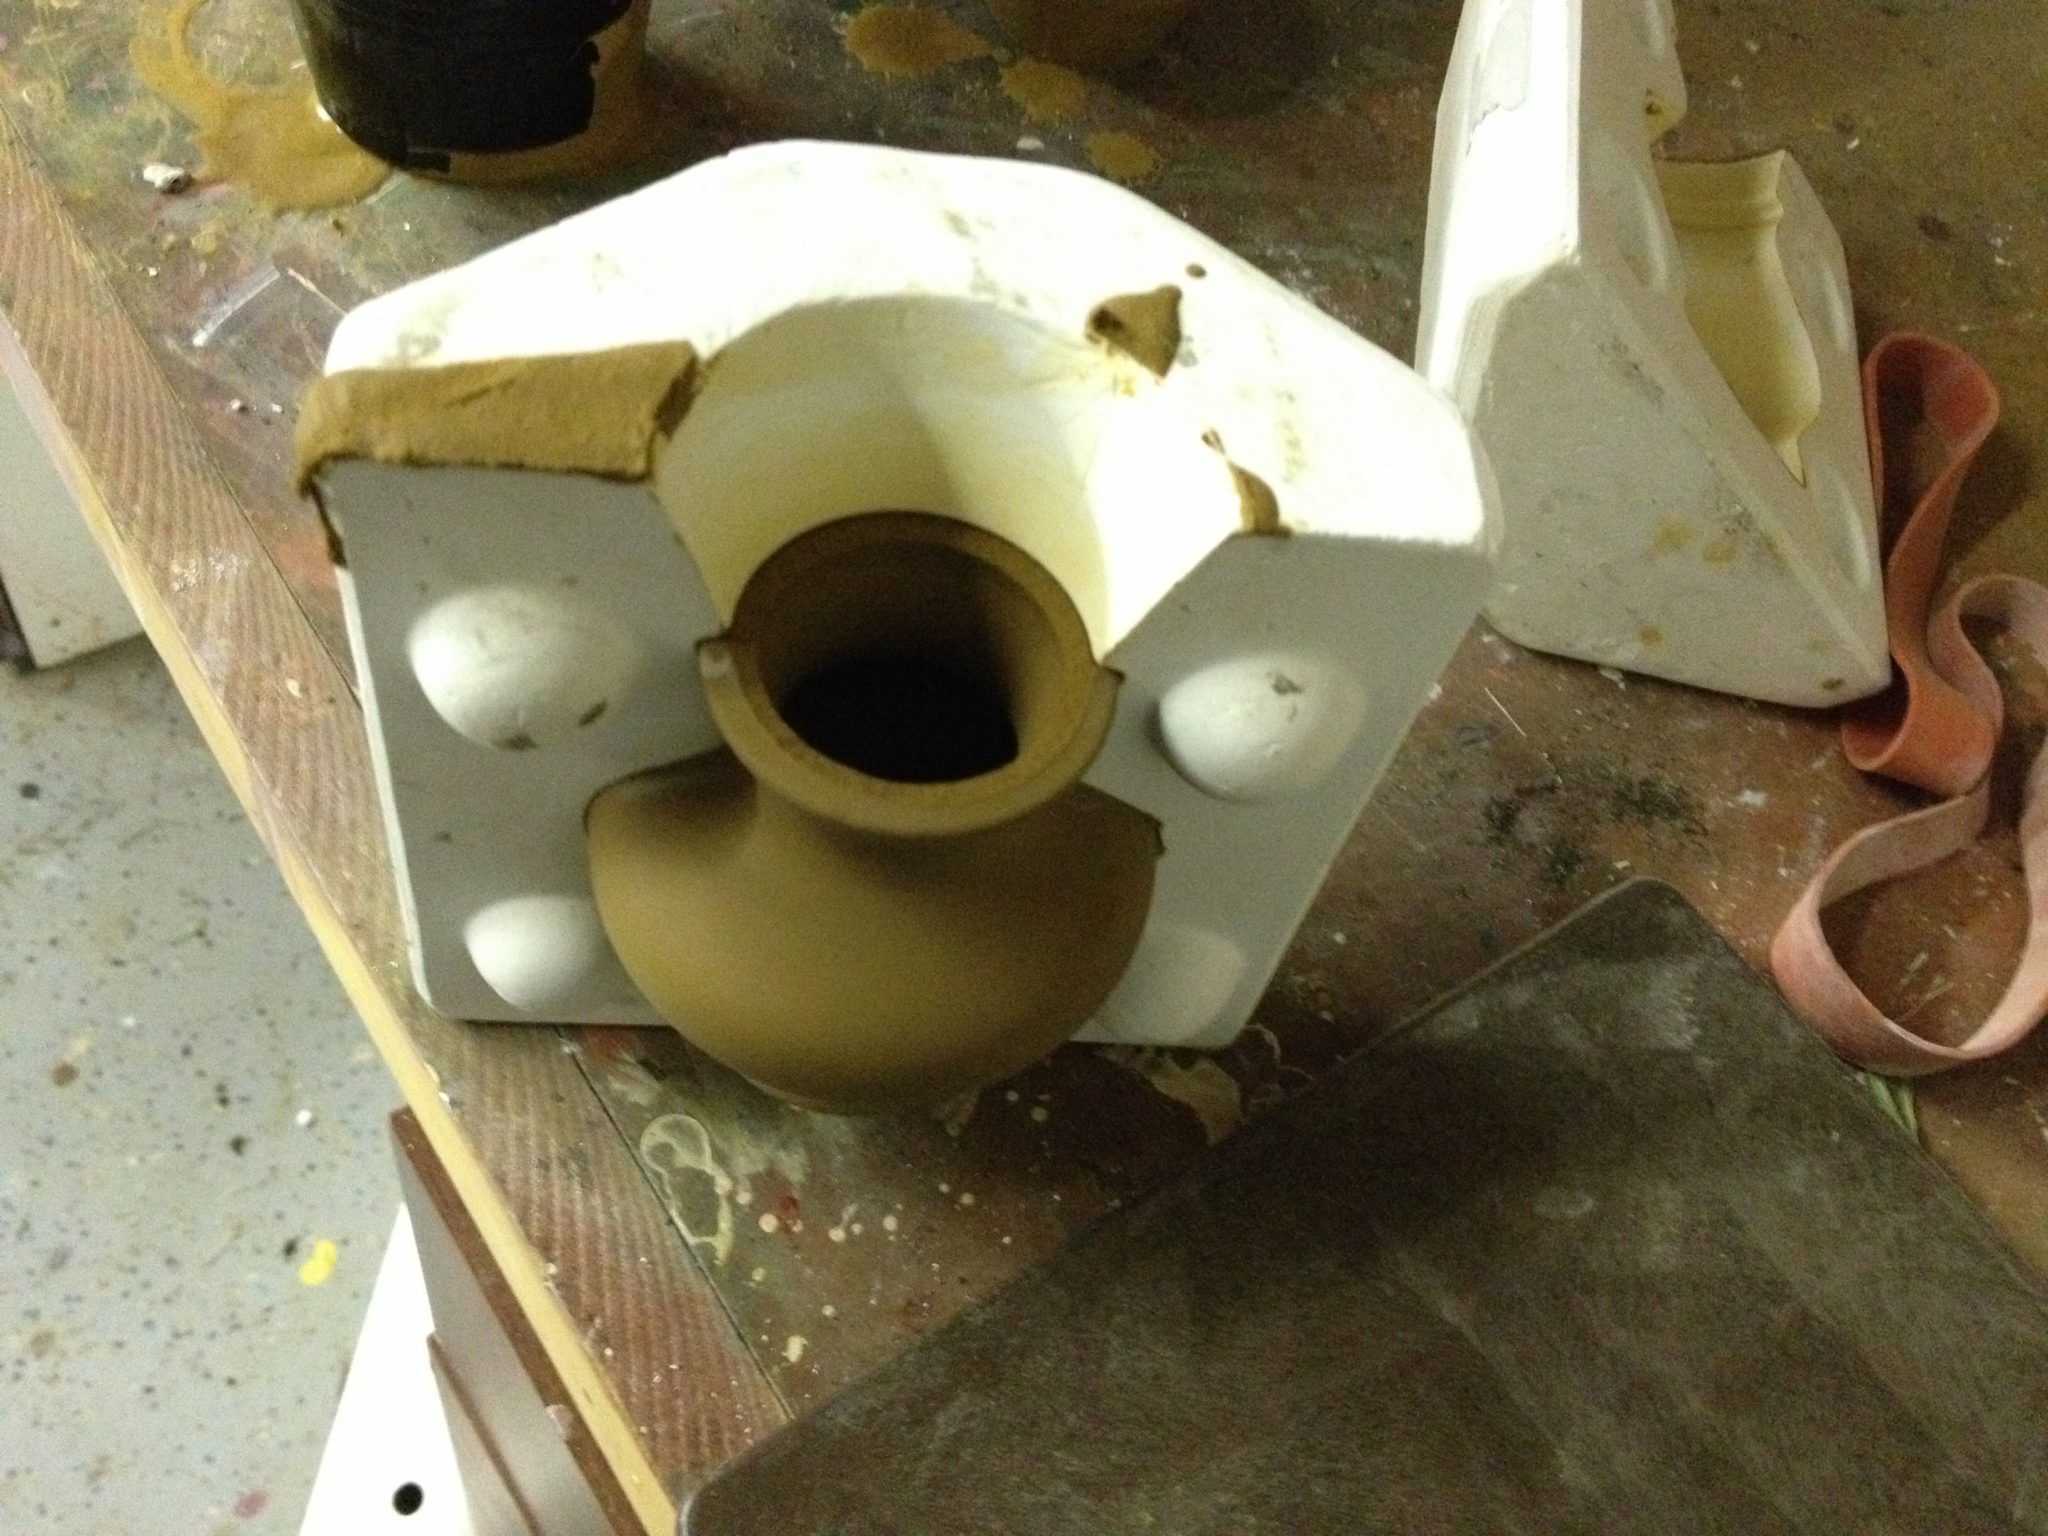
It was great being able to talk and walk them through the concept of pouring and what the slip and the mold are doing to form the piece,
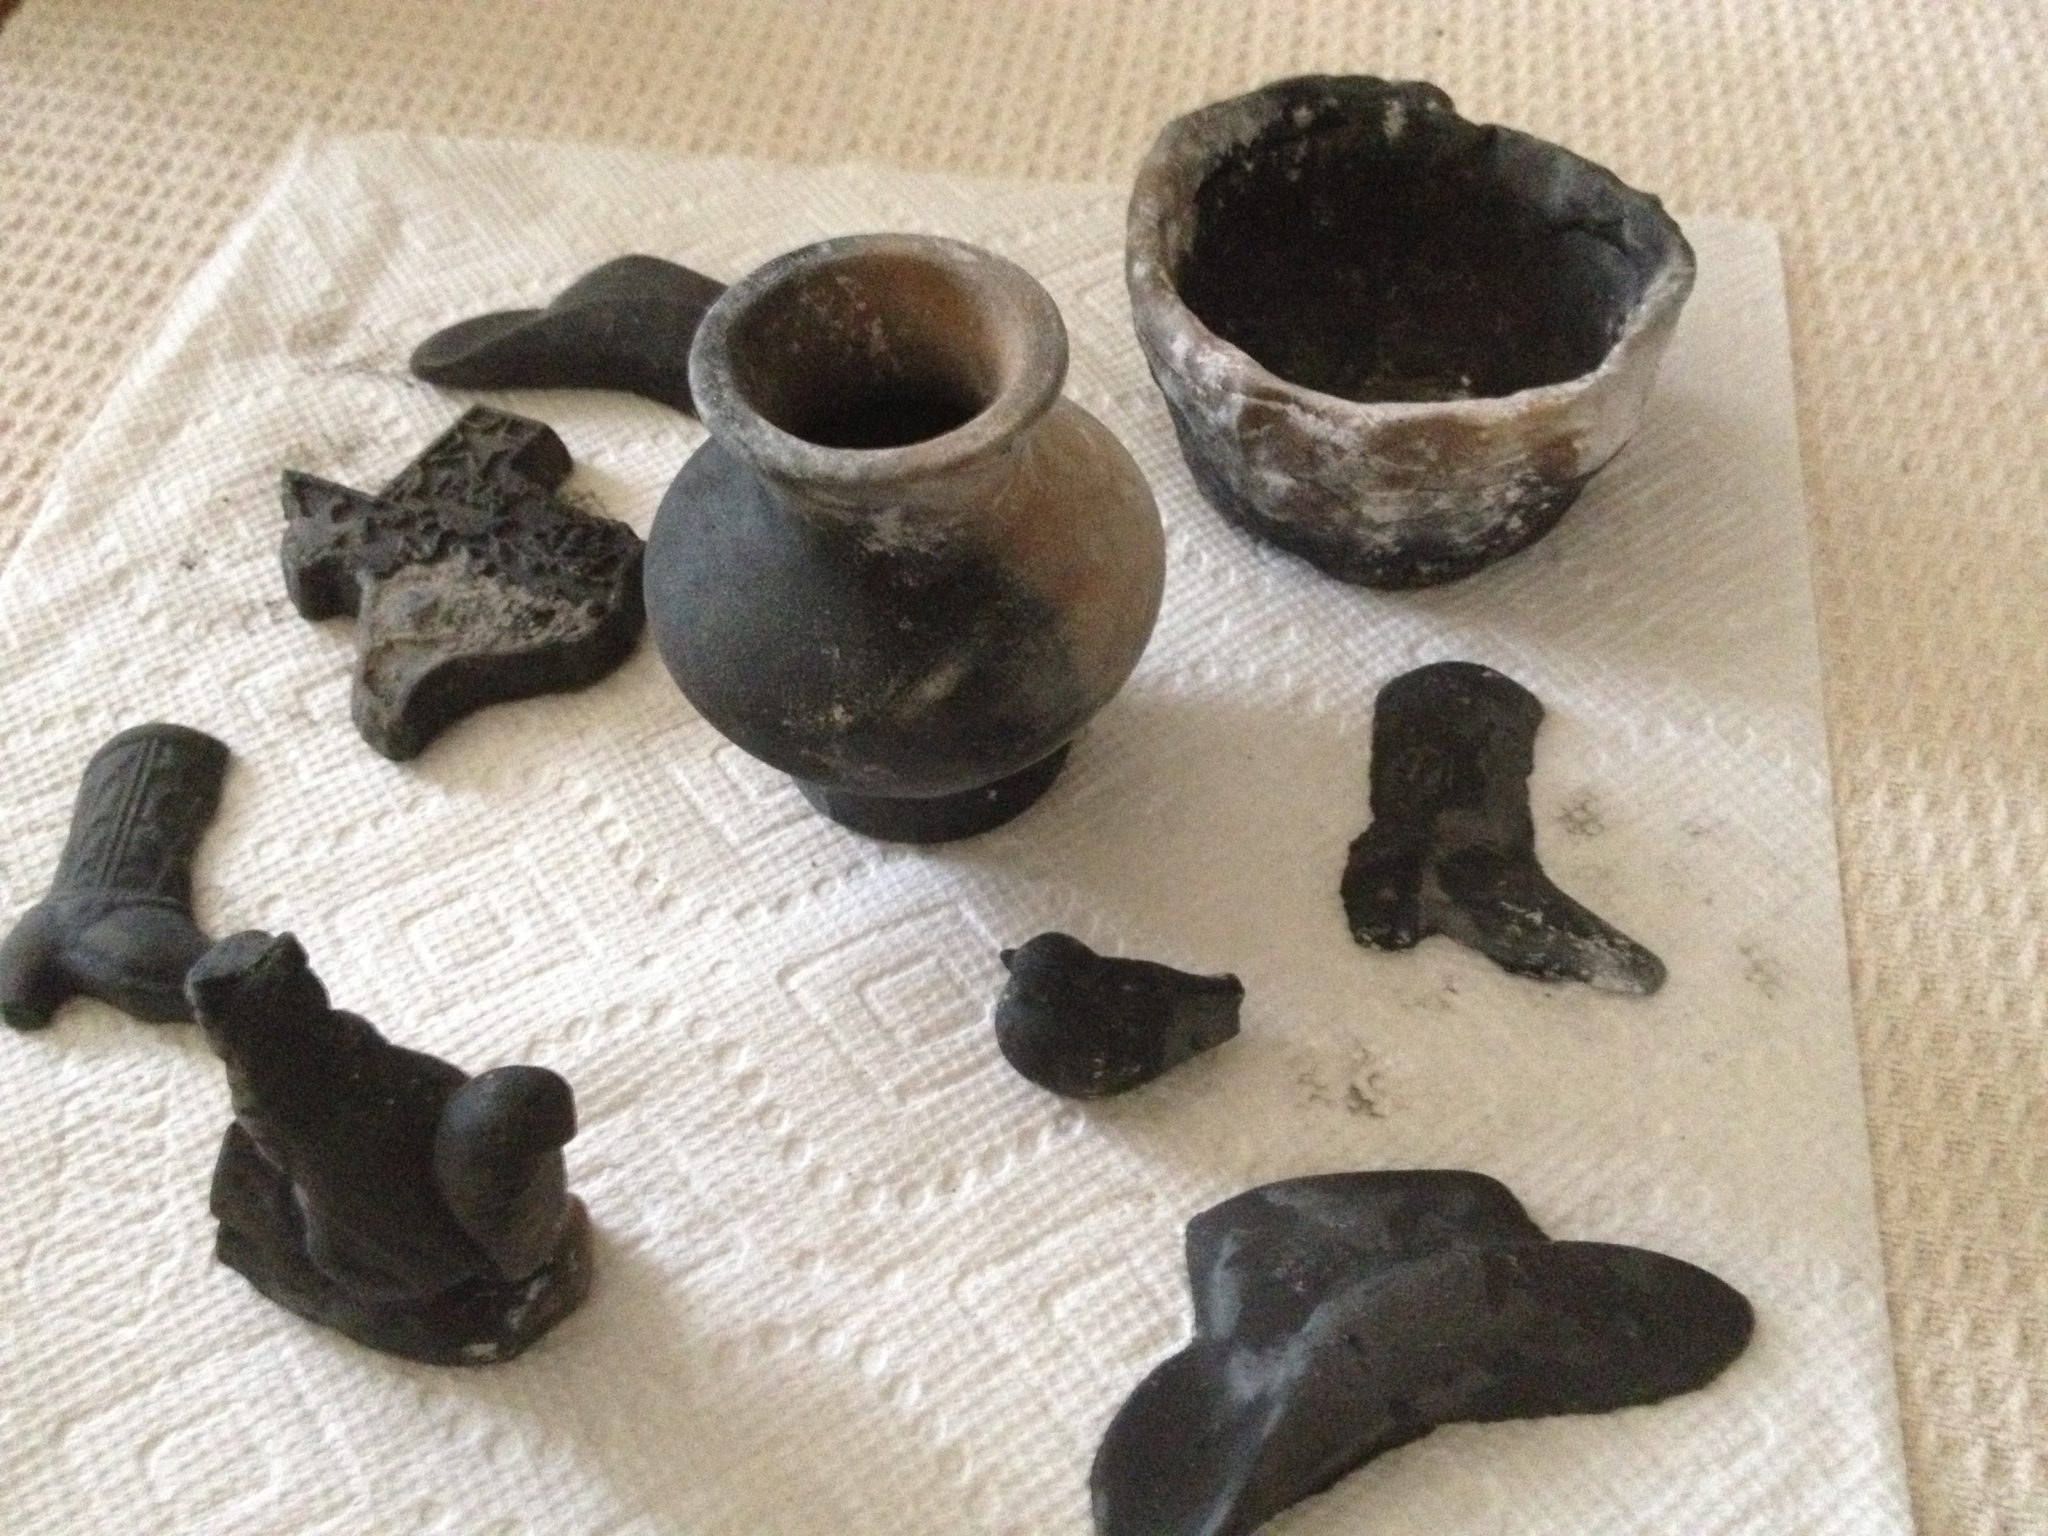
Elijah’s squirrel came out great.
Daniel’s birds didn’t all make it, though a couple did.
JJ’s pot didn’t make it out of the mold before tearing apart. This was my fault though, I should have let it sit in the mold longer before trying to separate it.
No worries though. Daniel got to choose something else and selected a cowboy boot and cowboy hat open-pour molds. Both turned out perfectly.
JJ took a different approach. Because the mold pulled the excess water from the clay slip (obviously, since that’s what the mold is made to do), we were left with a perfectly-pliable clay. So JJ decided he wanted to make something by hand. That’s my boy! So I gave him a quick tutorial on building a coil pot and he was off on his own.
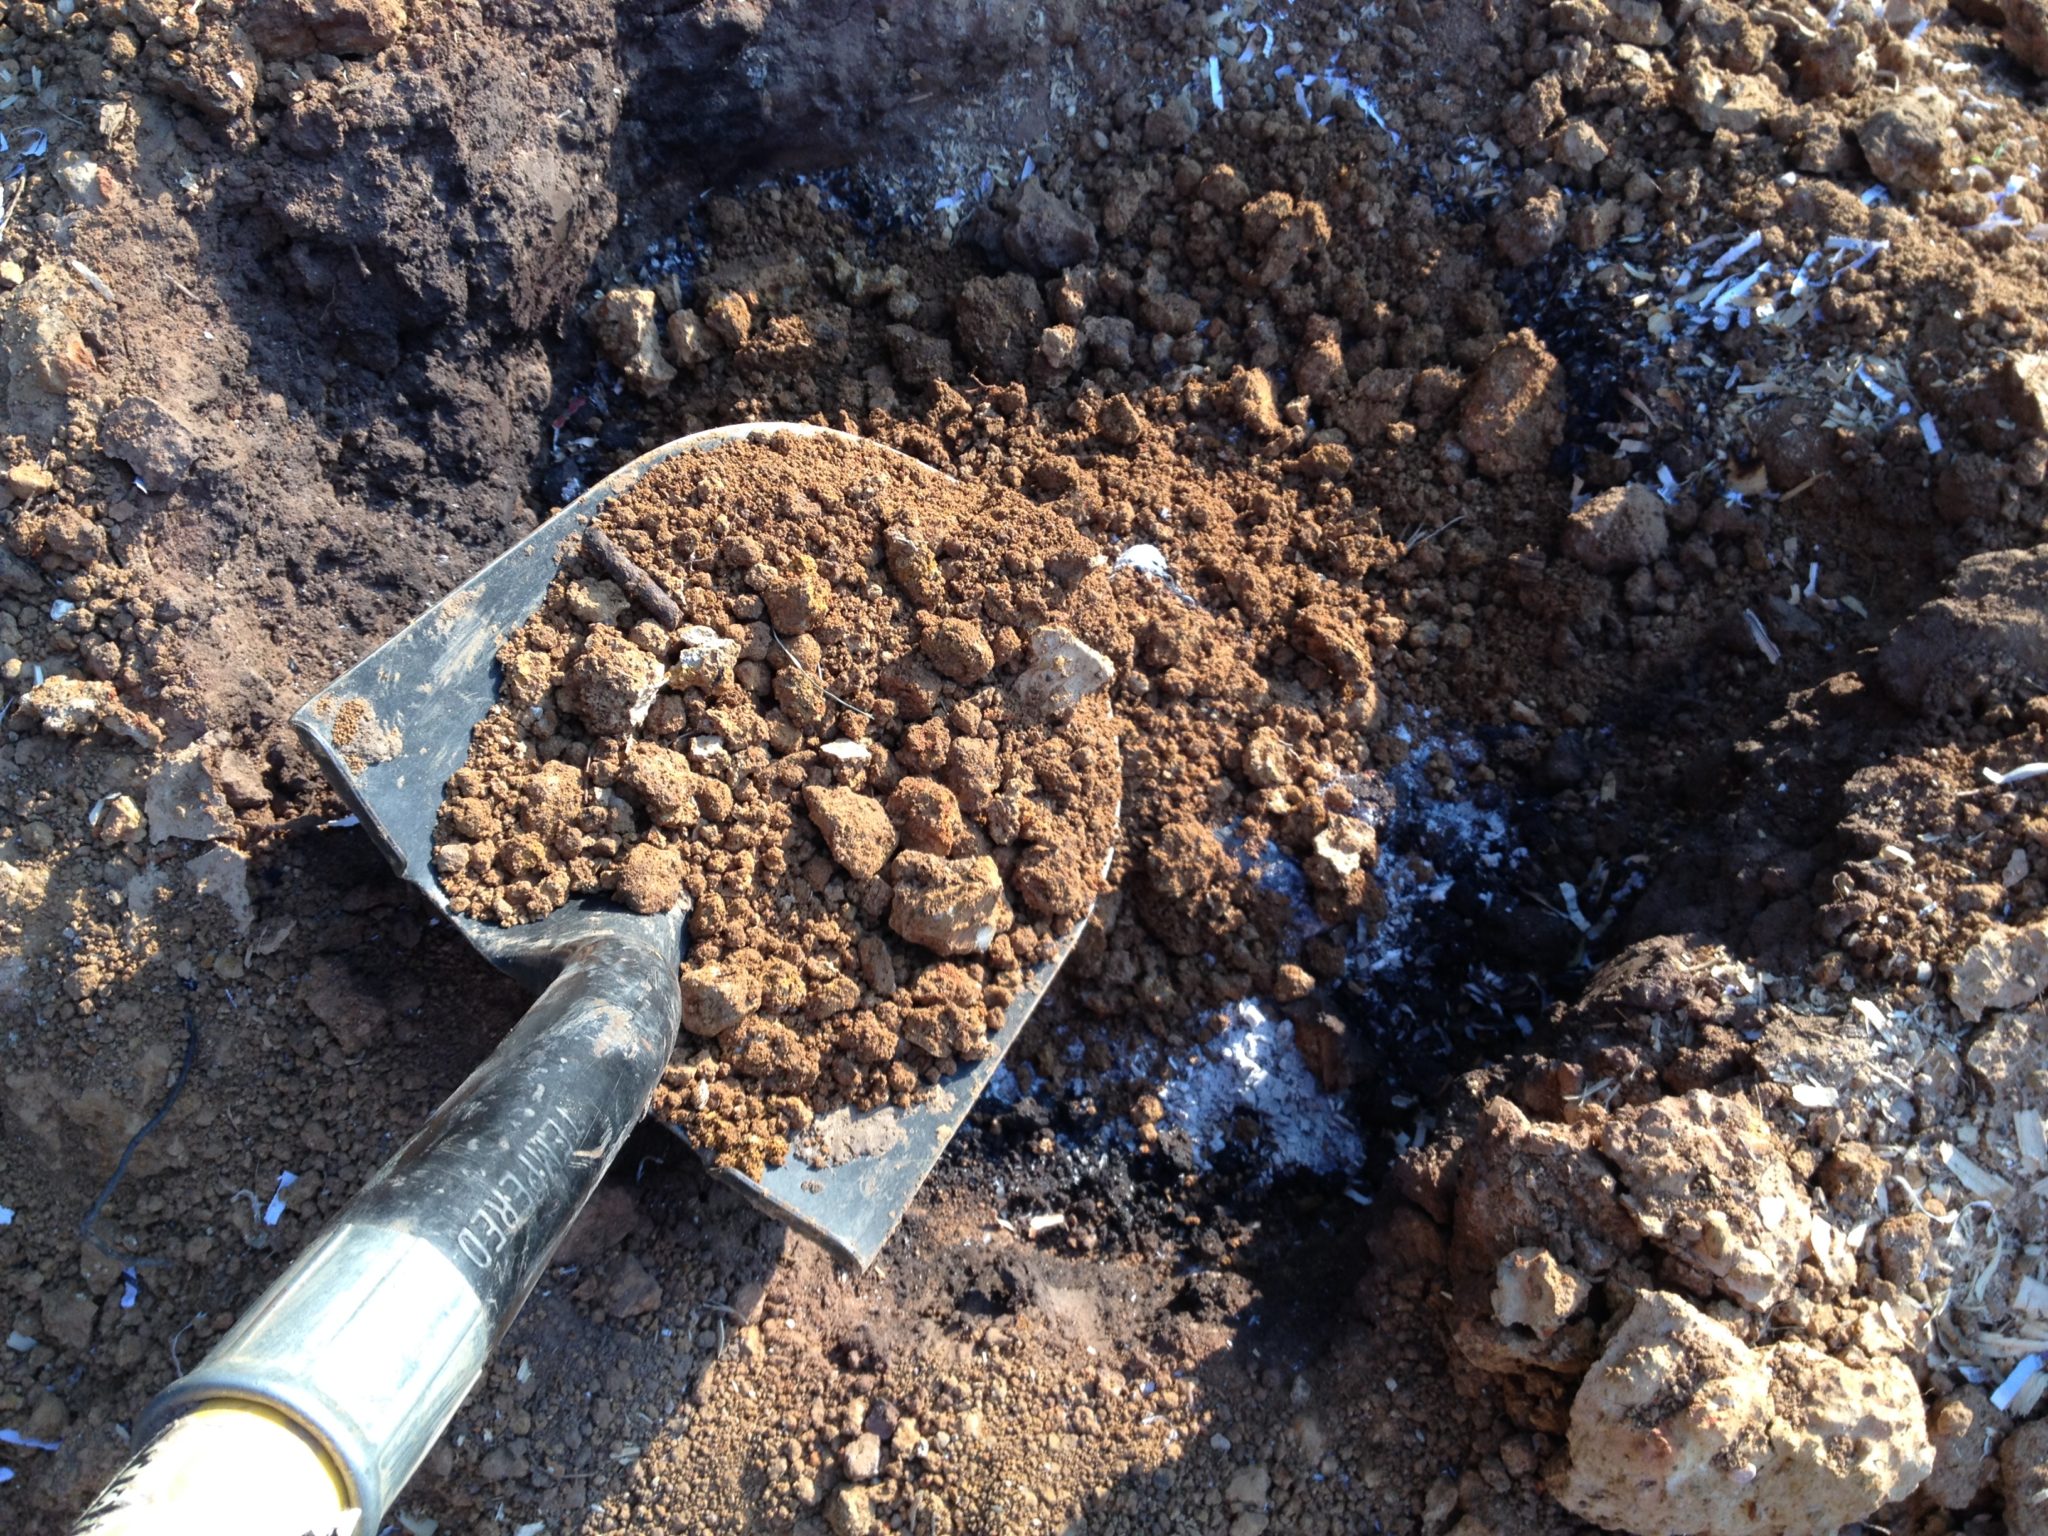
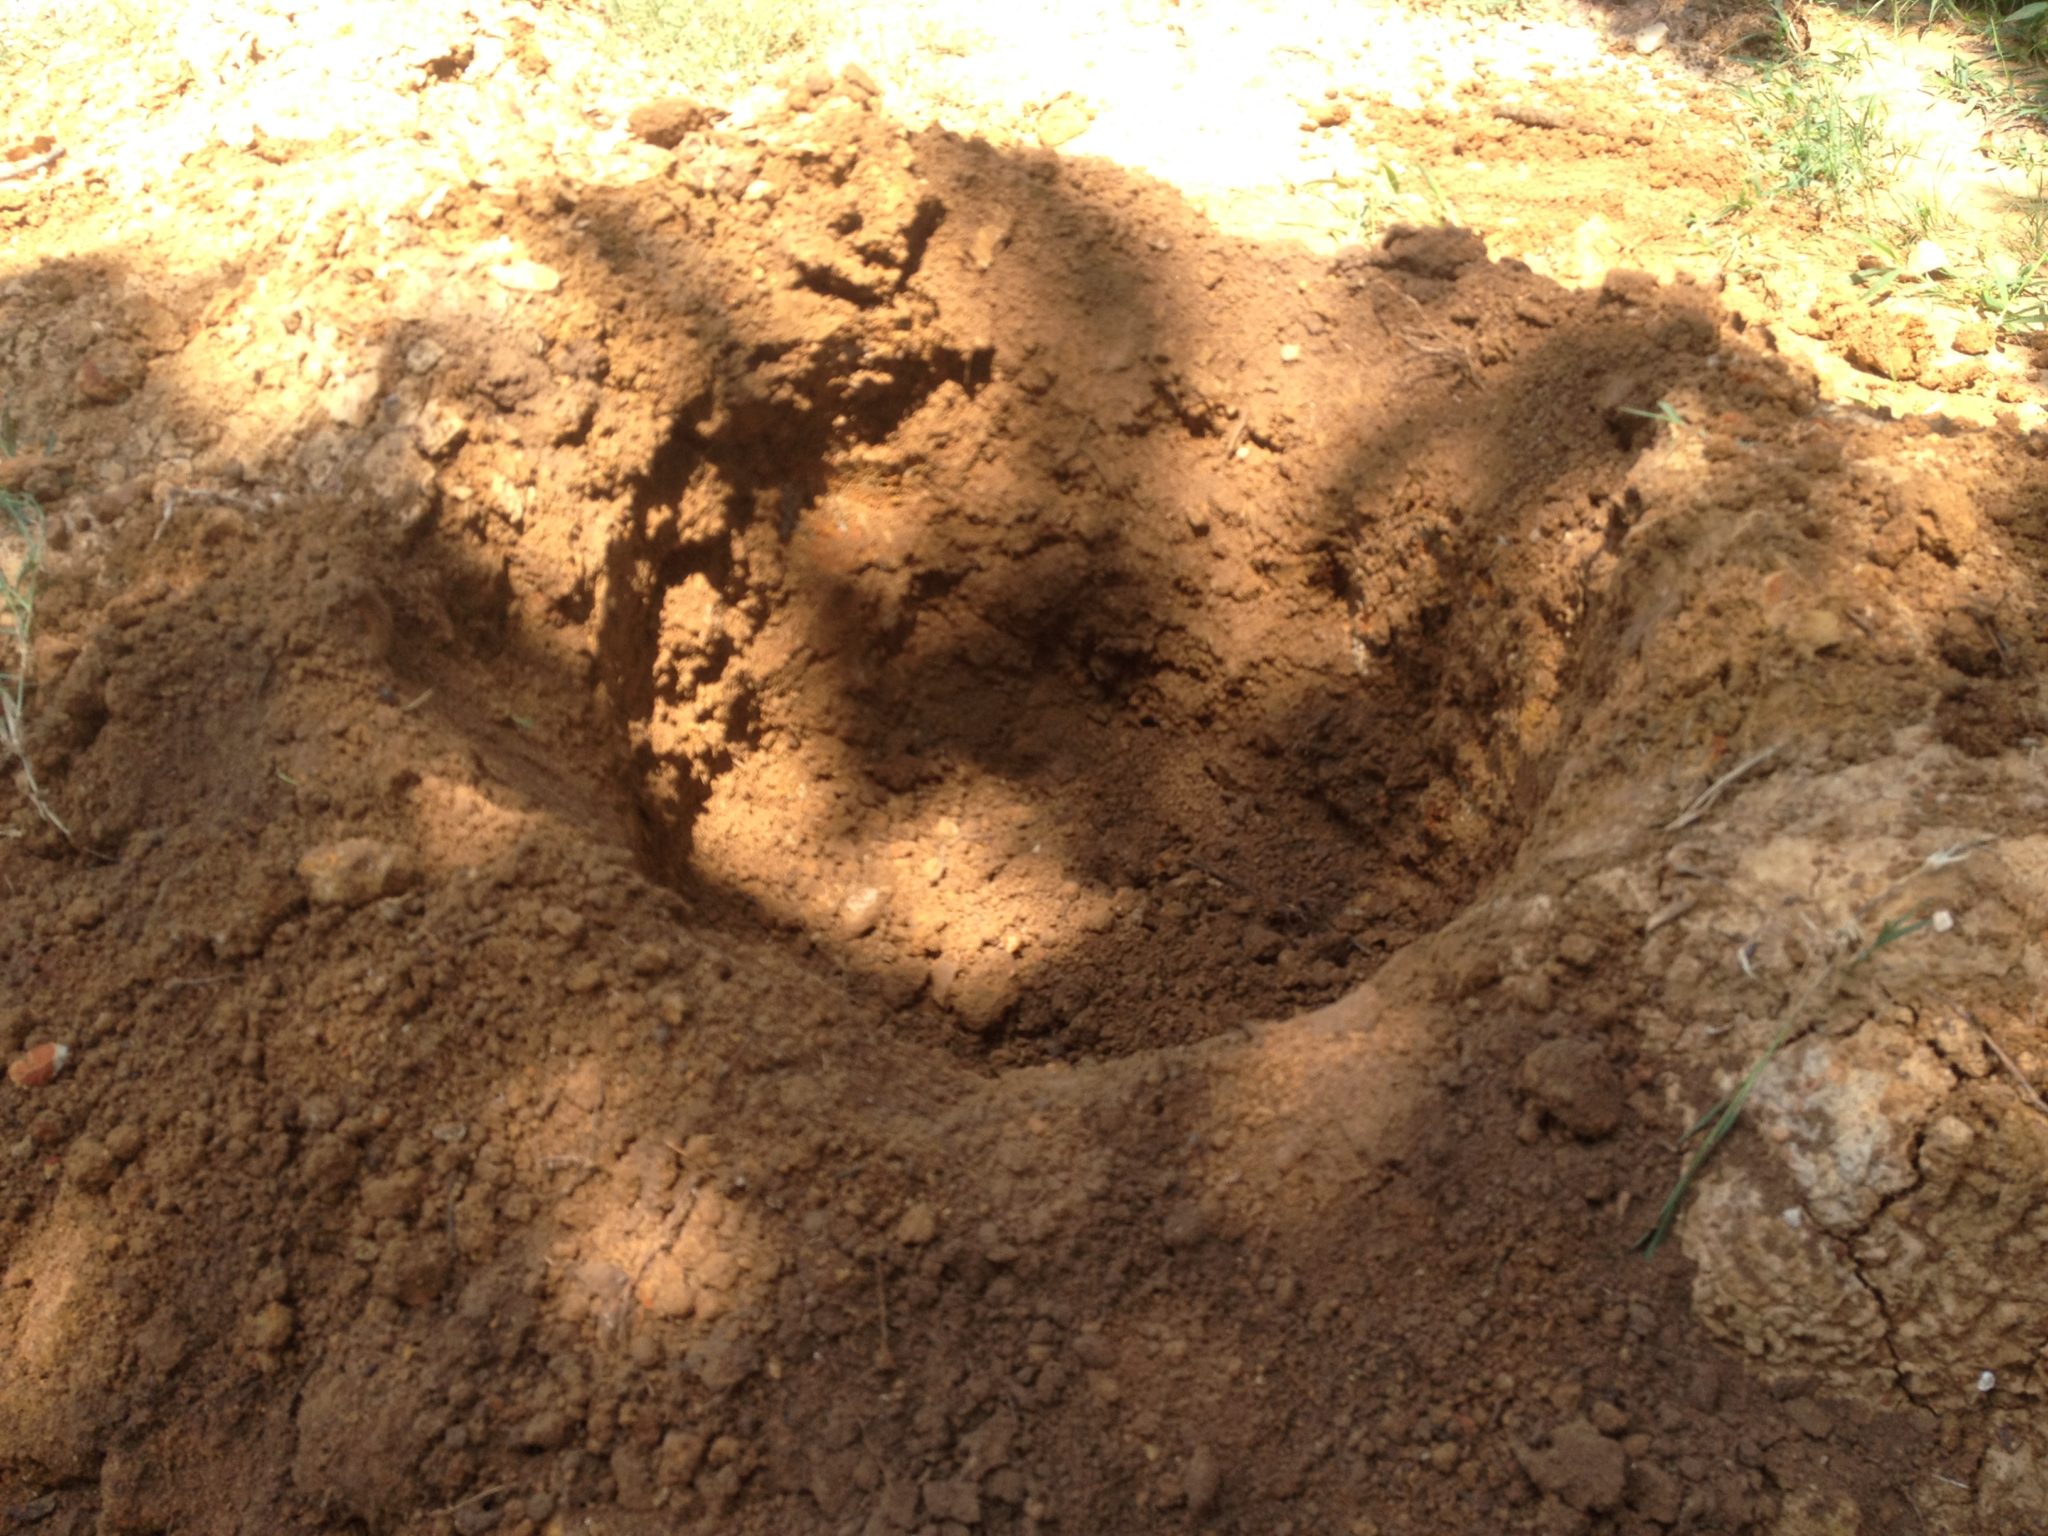
While we let those get kiln-ready and dry to bone-dry, we set to digging and setting up our fire pit. Luckily, we have plenty of cleared-of-all-things-living space in the backyard where all the excess dirt from the storm shelter install currently lives, so fire hazards were at a minimum.
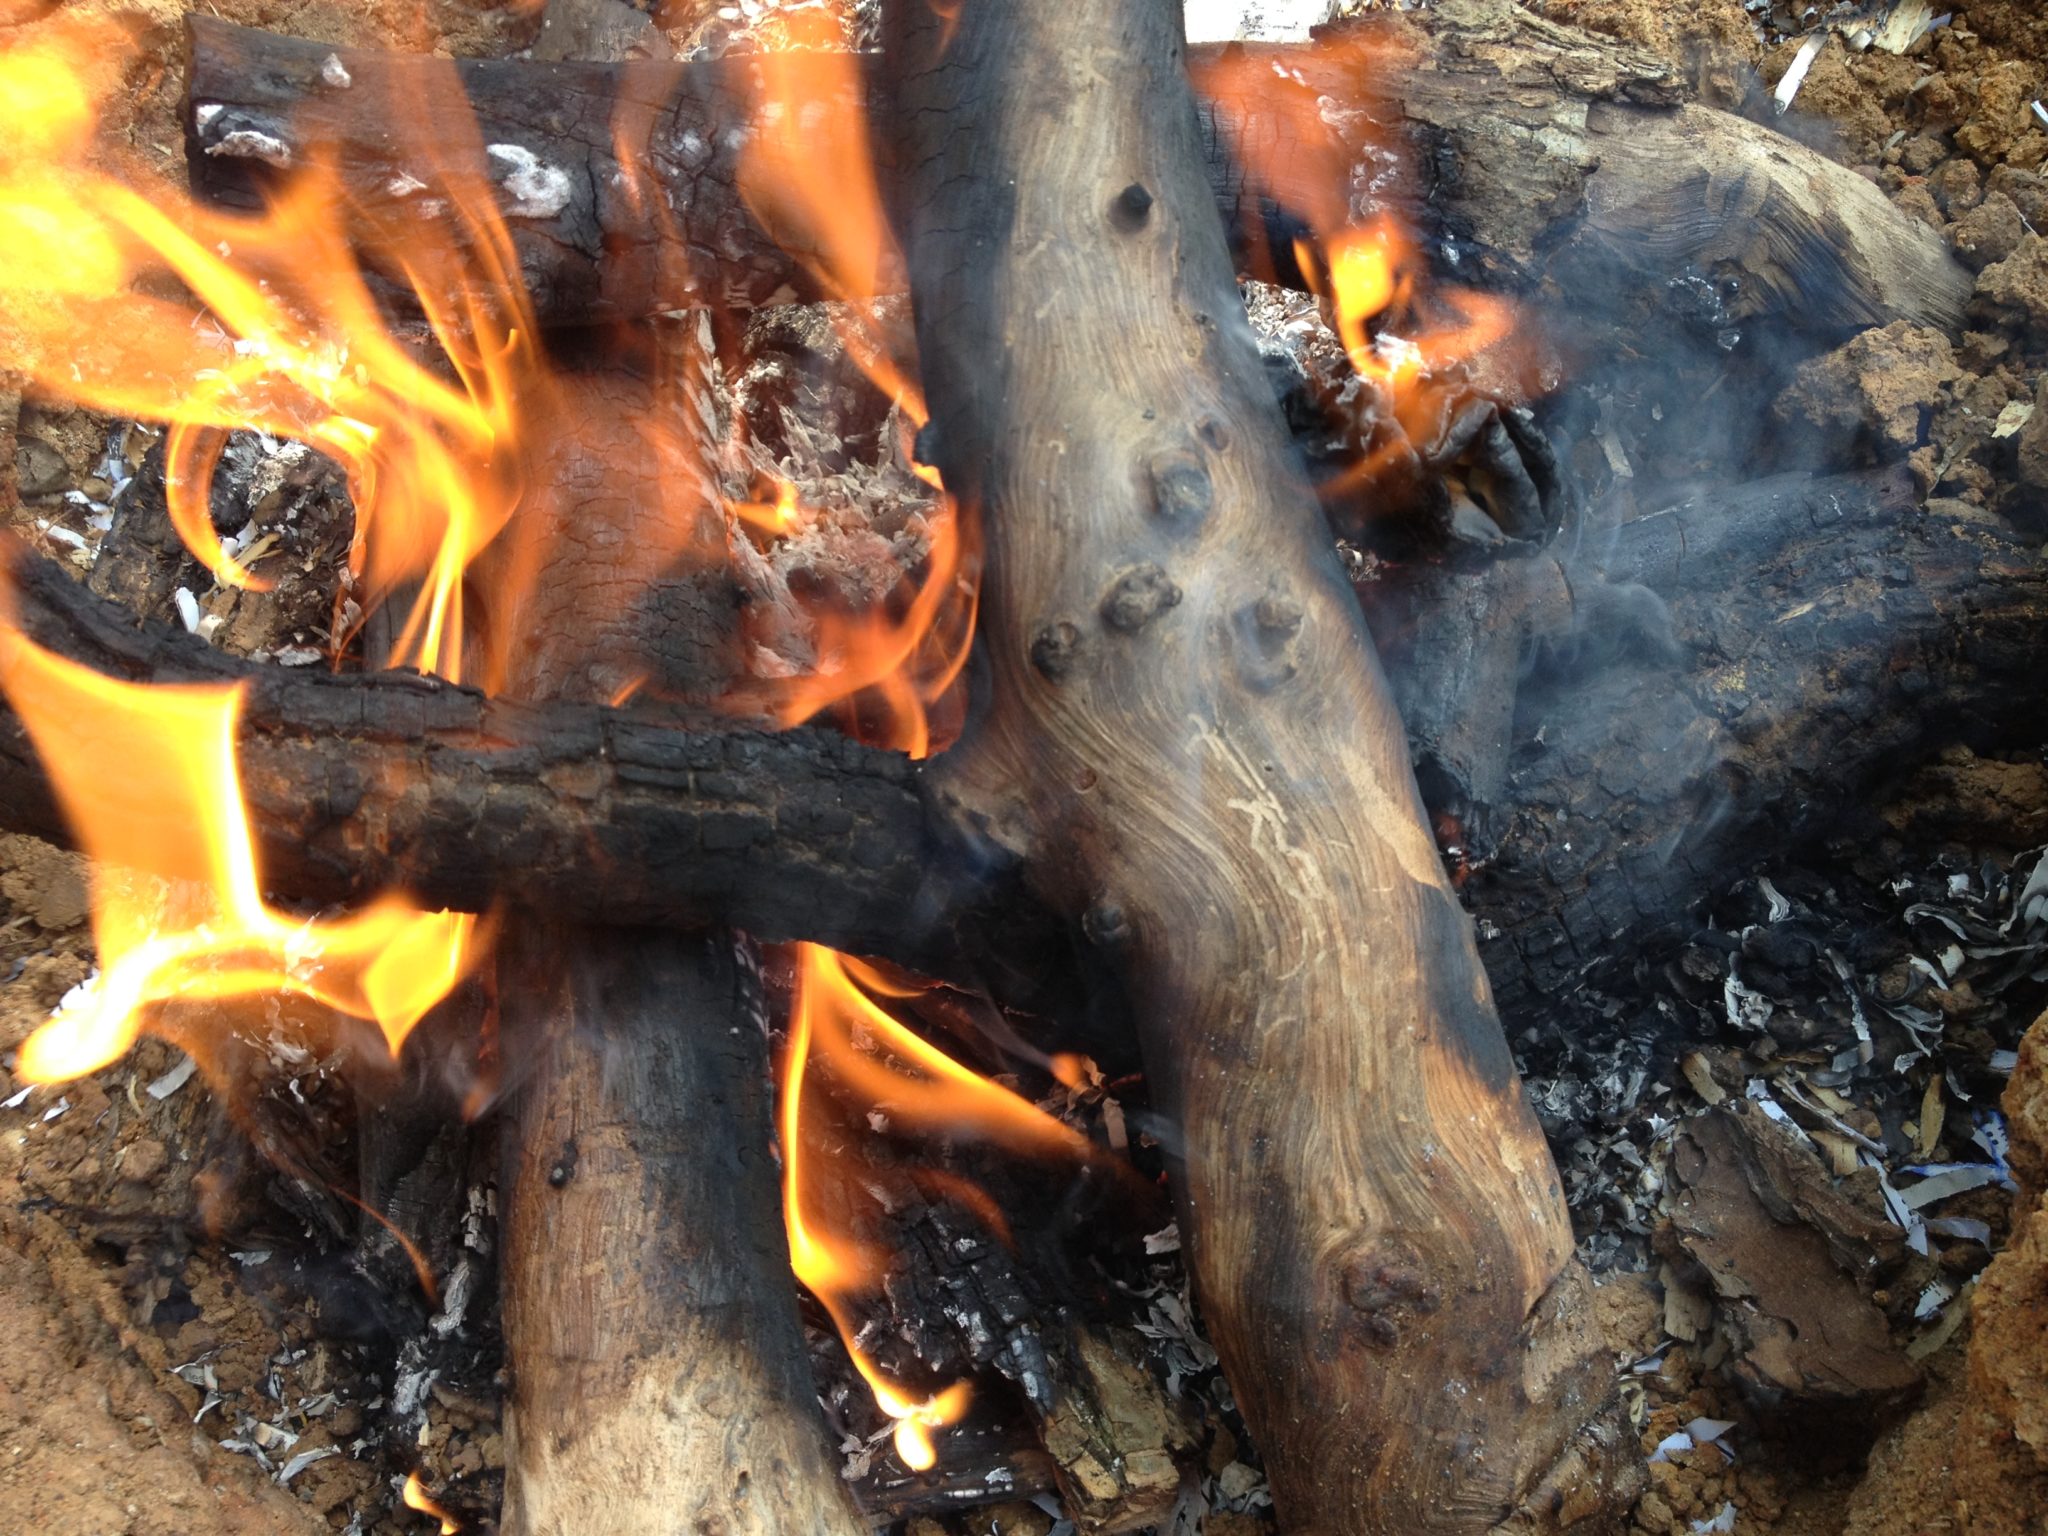
 We dug a hole about 2 feet across and 18 inches down and set about gathering the kindling and wood to be used. We then set everyone’s pieces right in the middle of the pit and let ‘er burn!
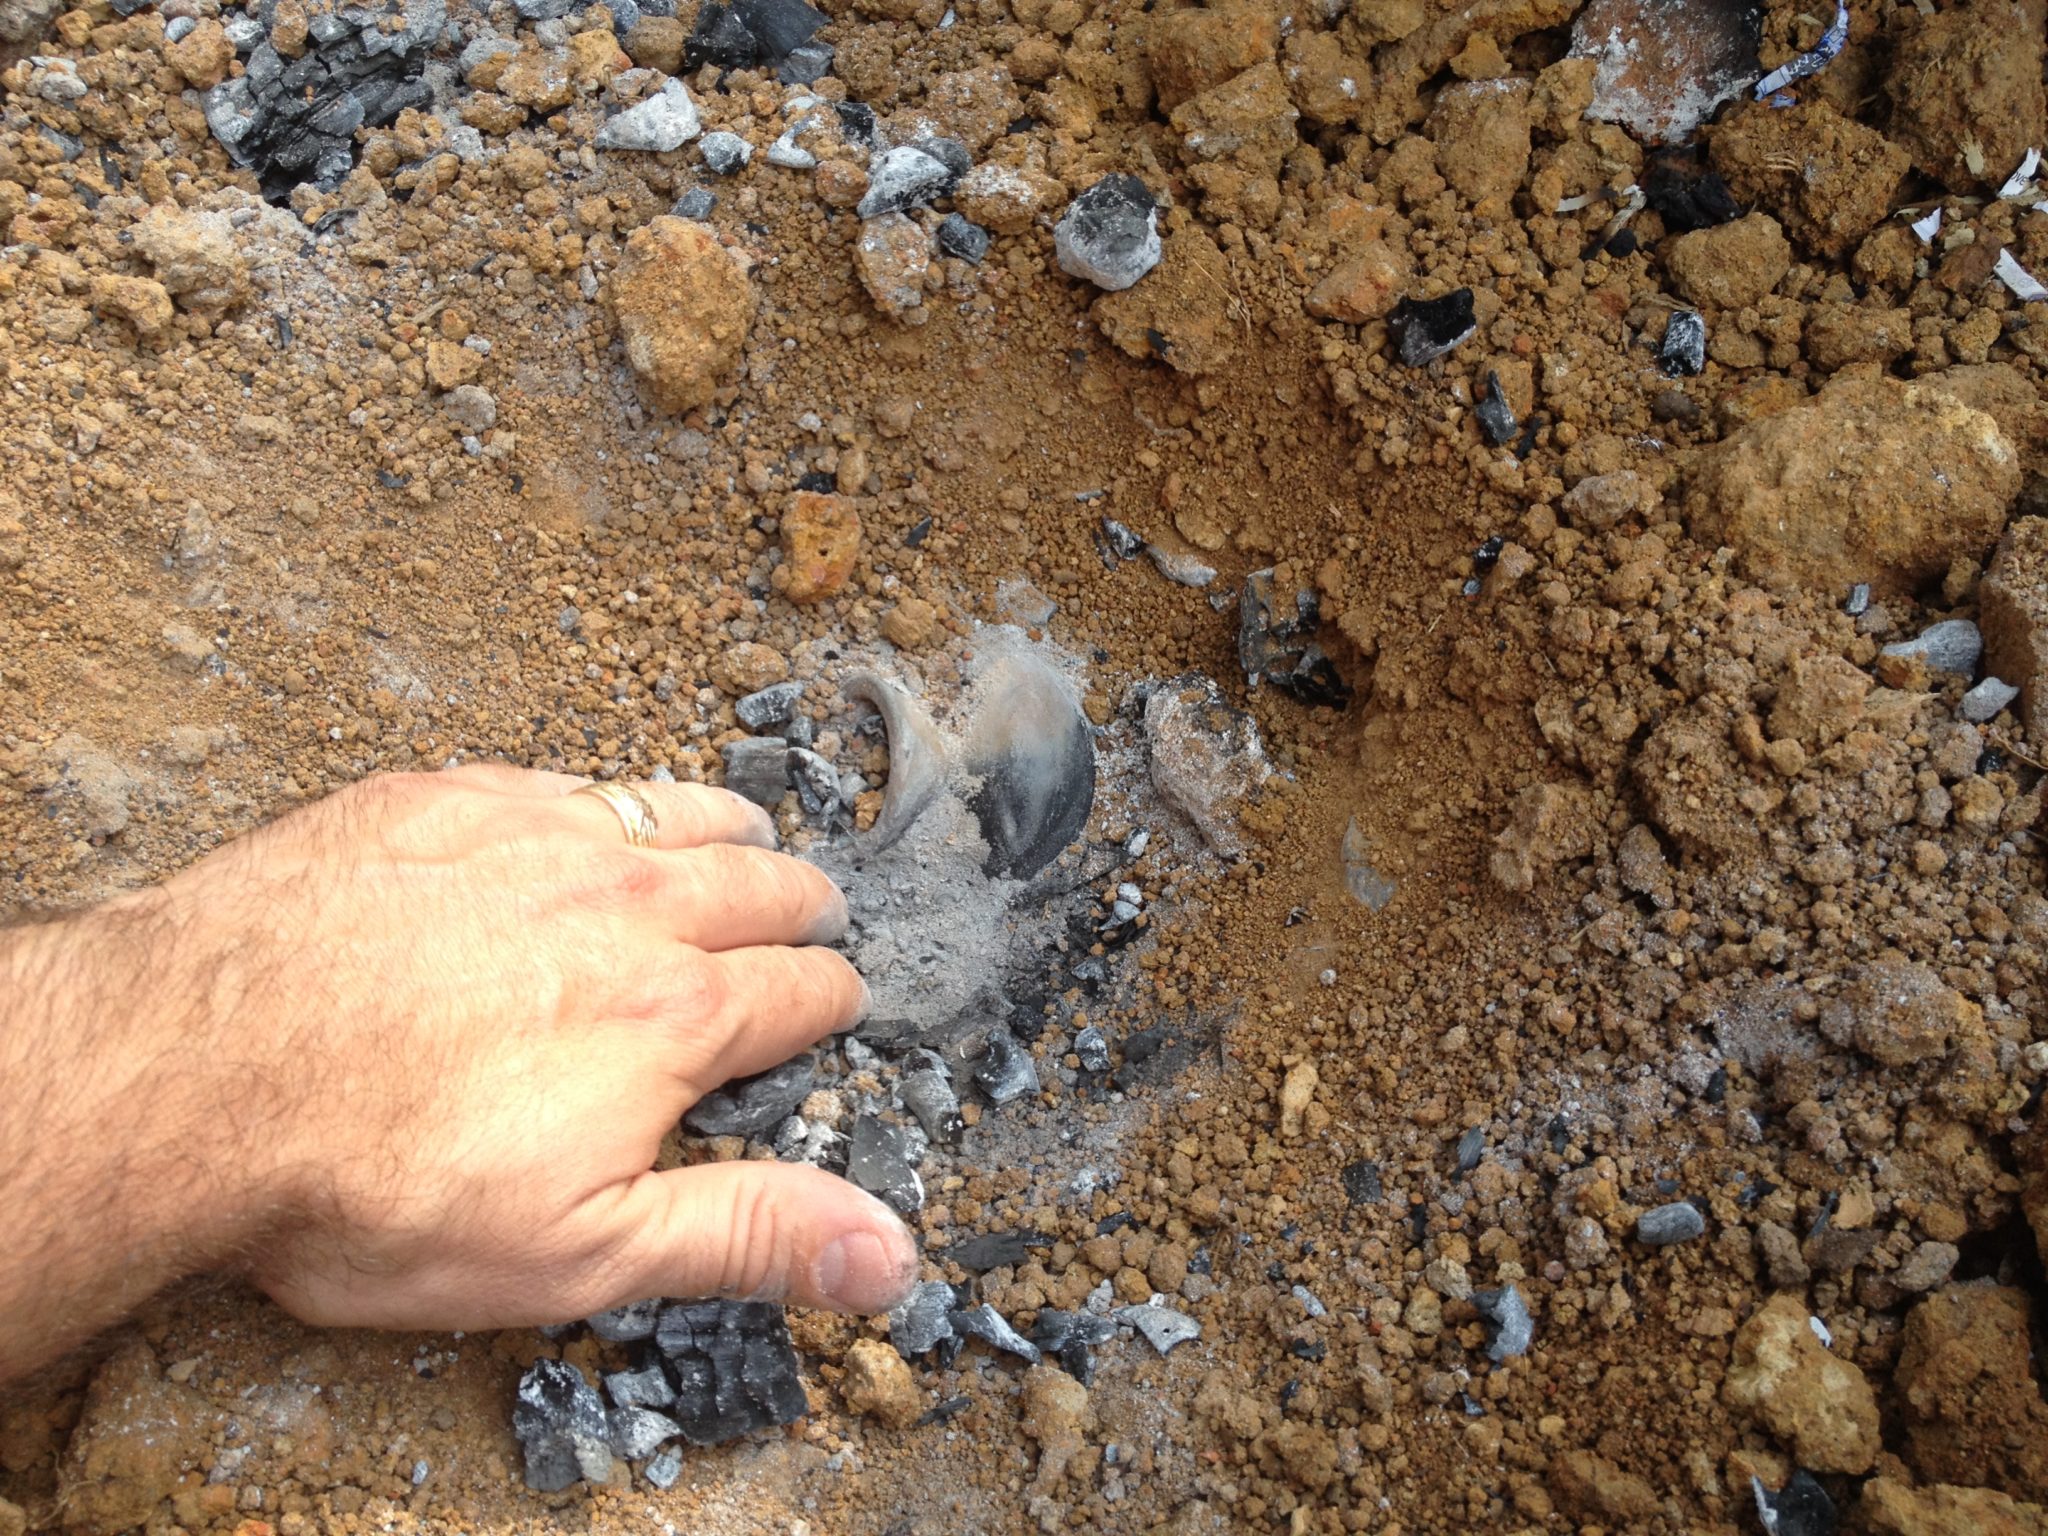
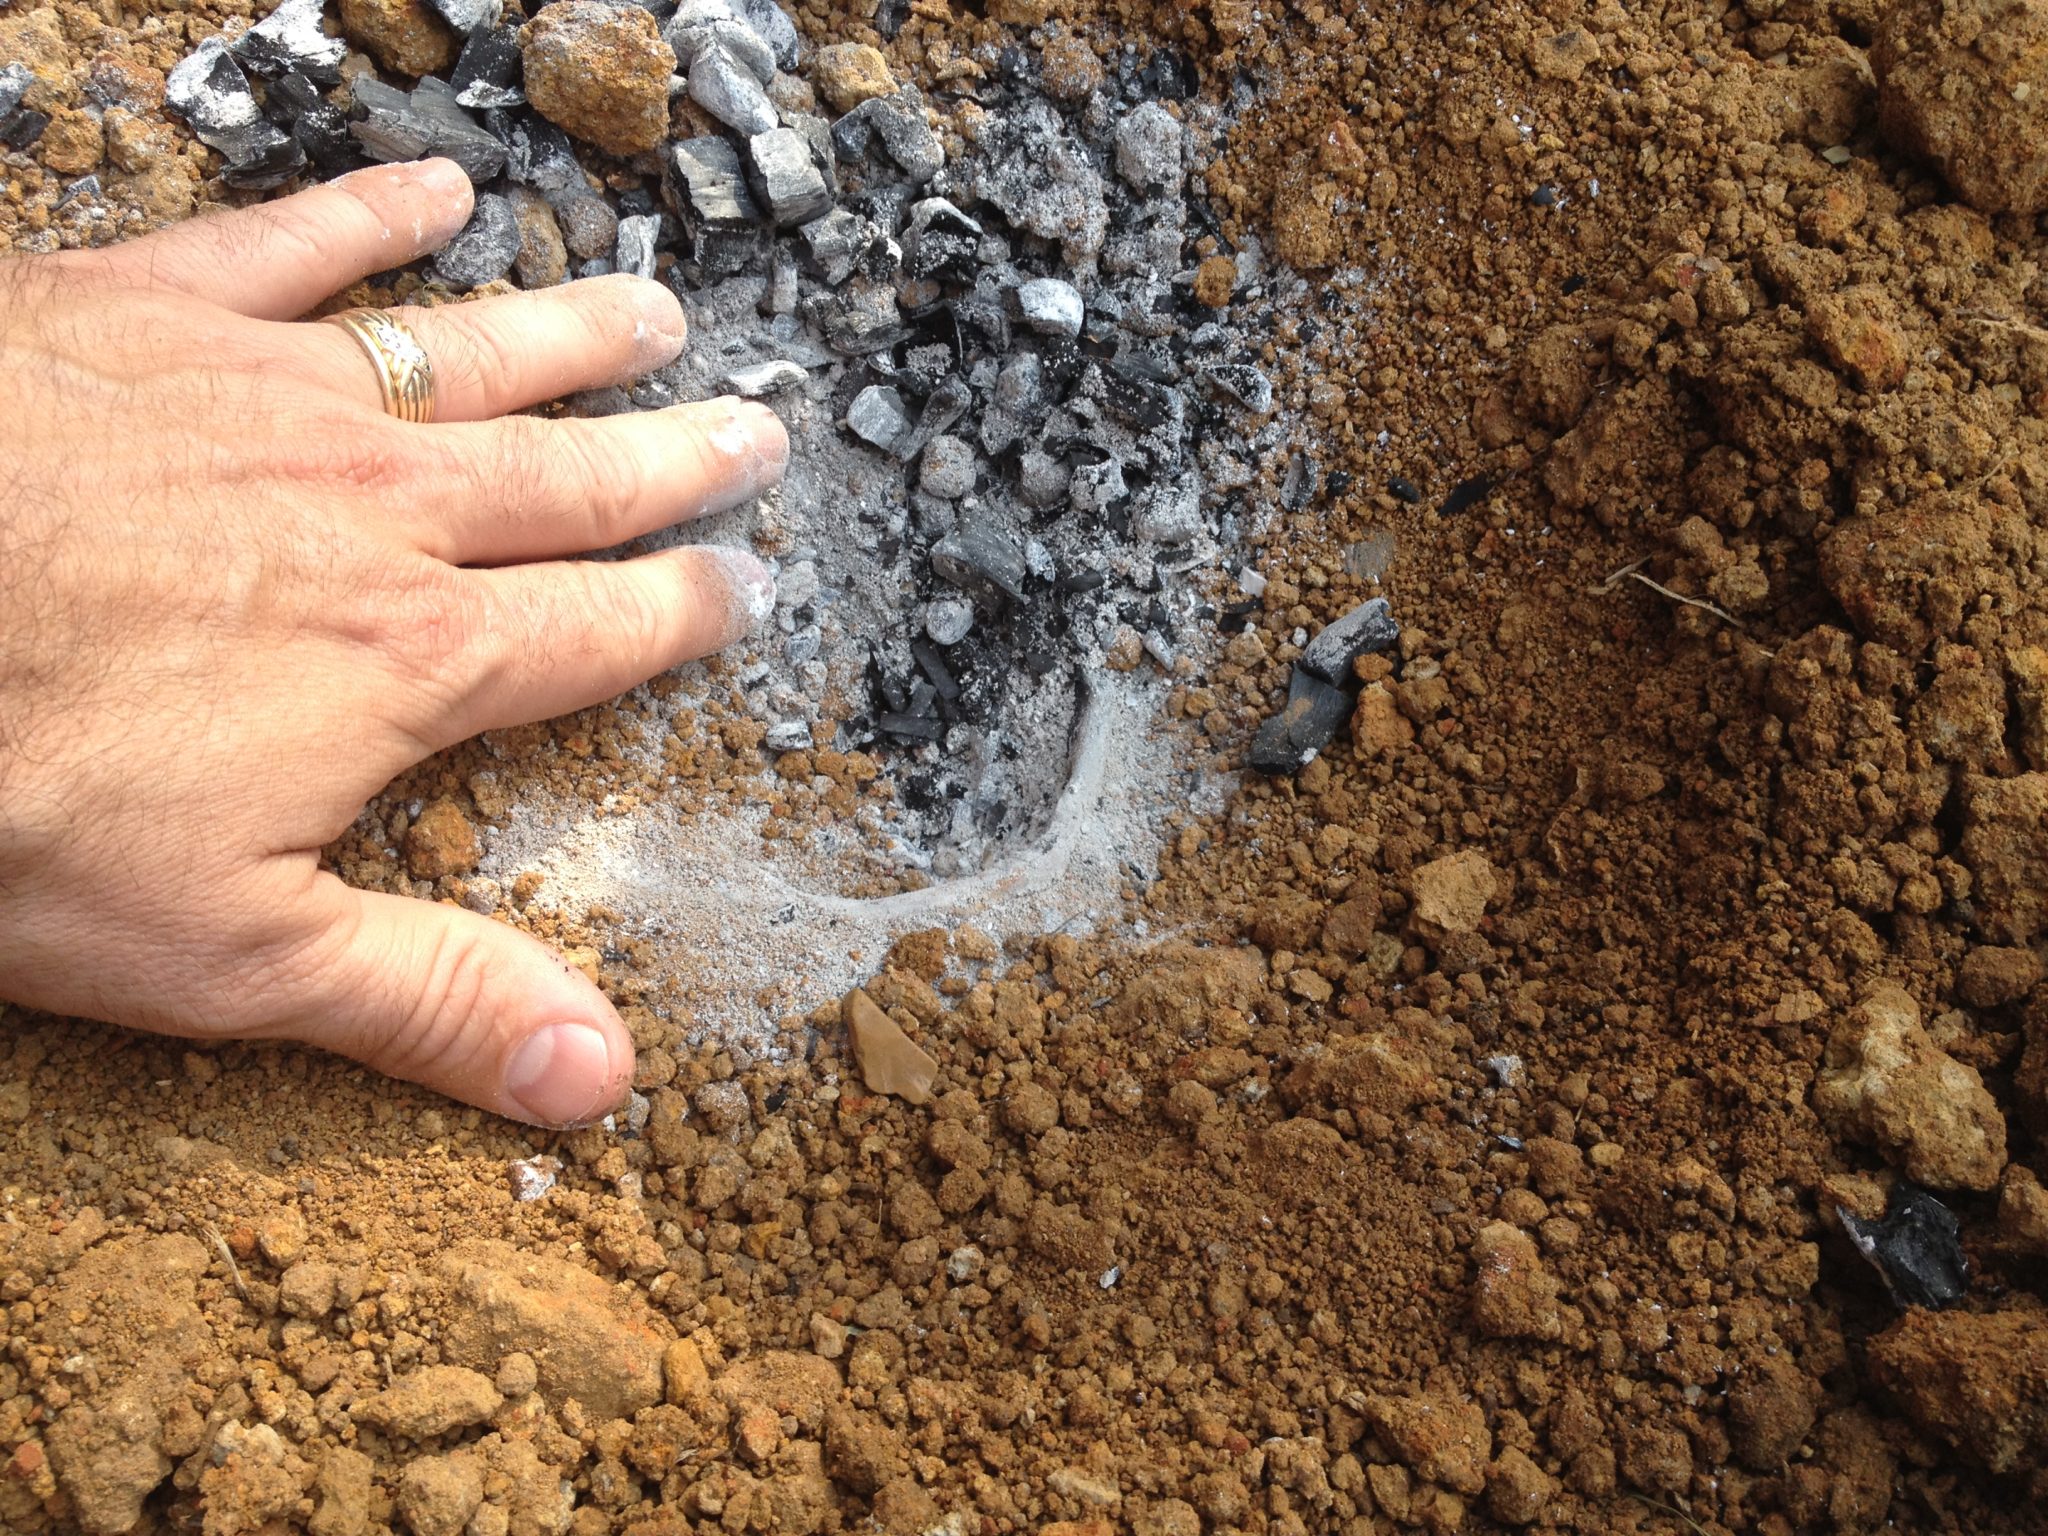
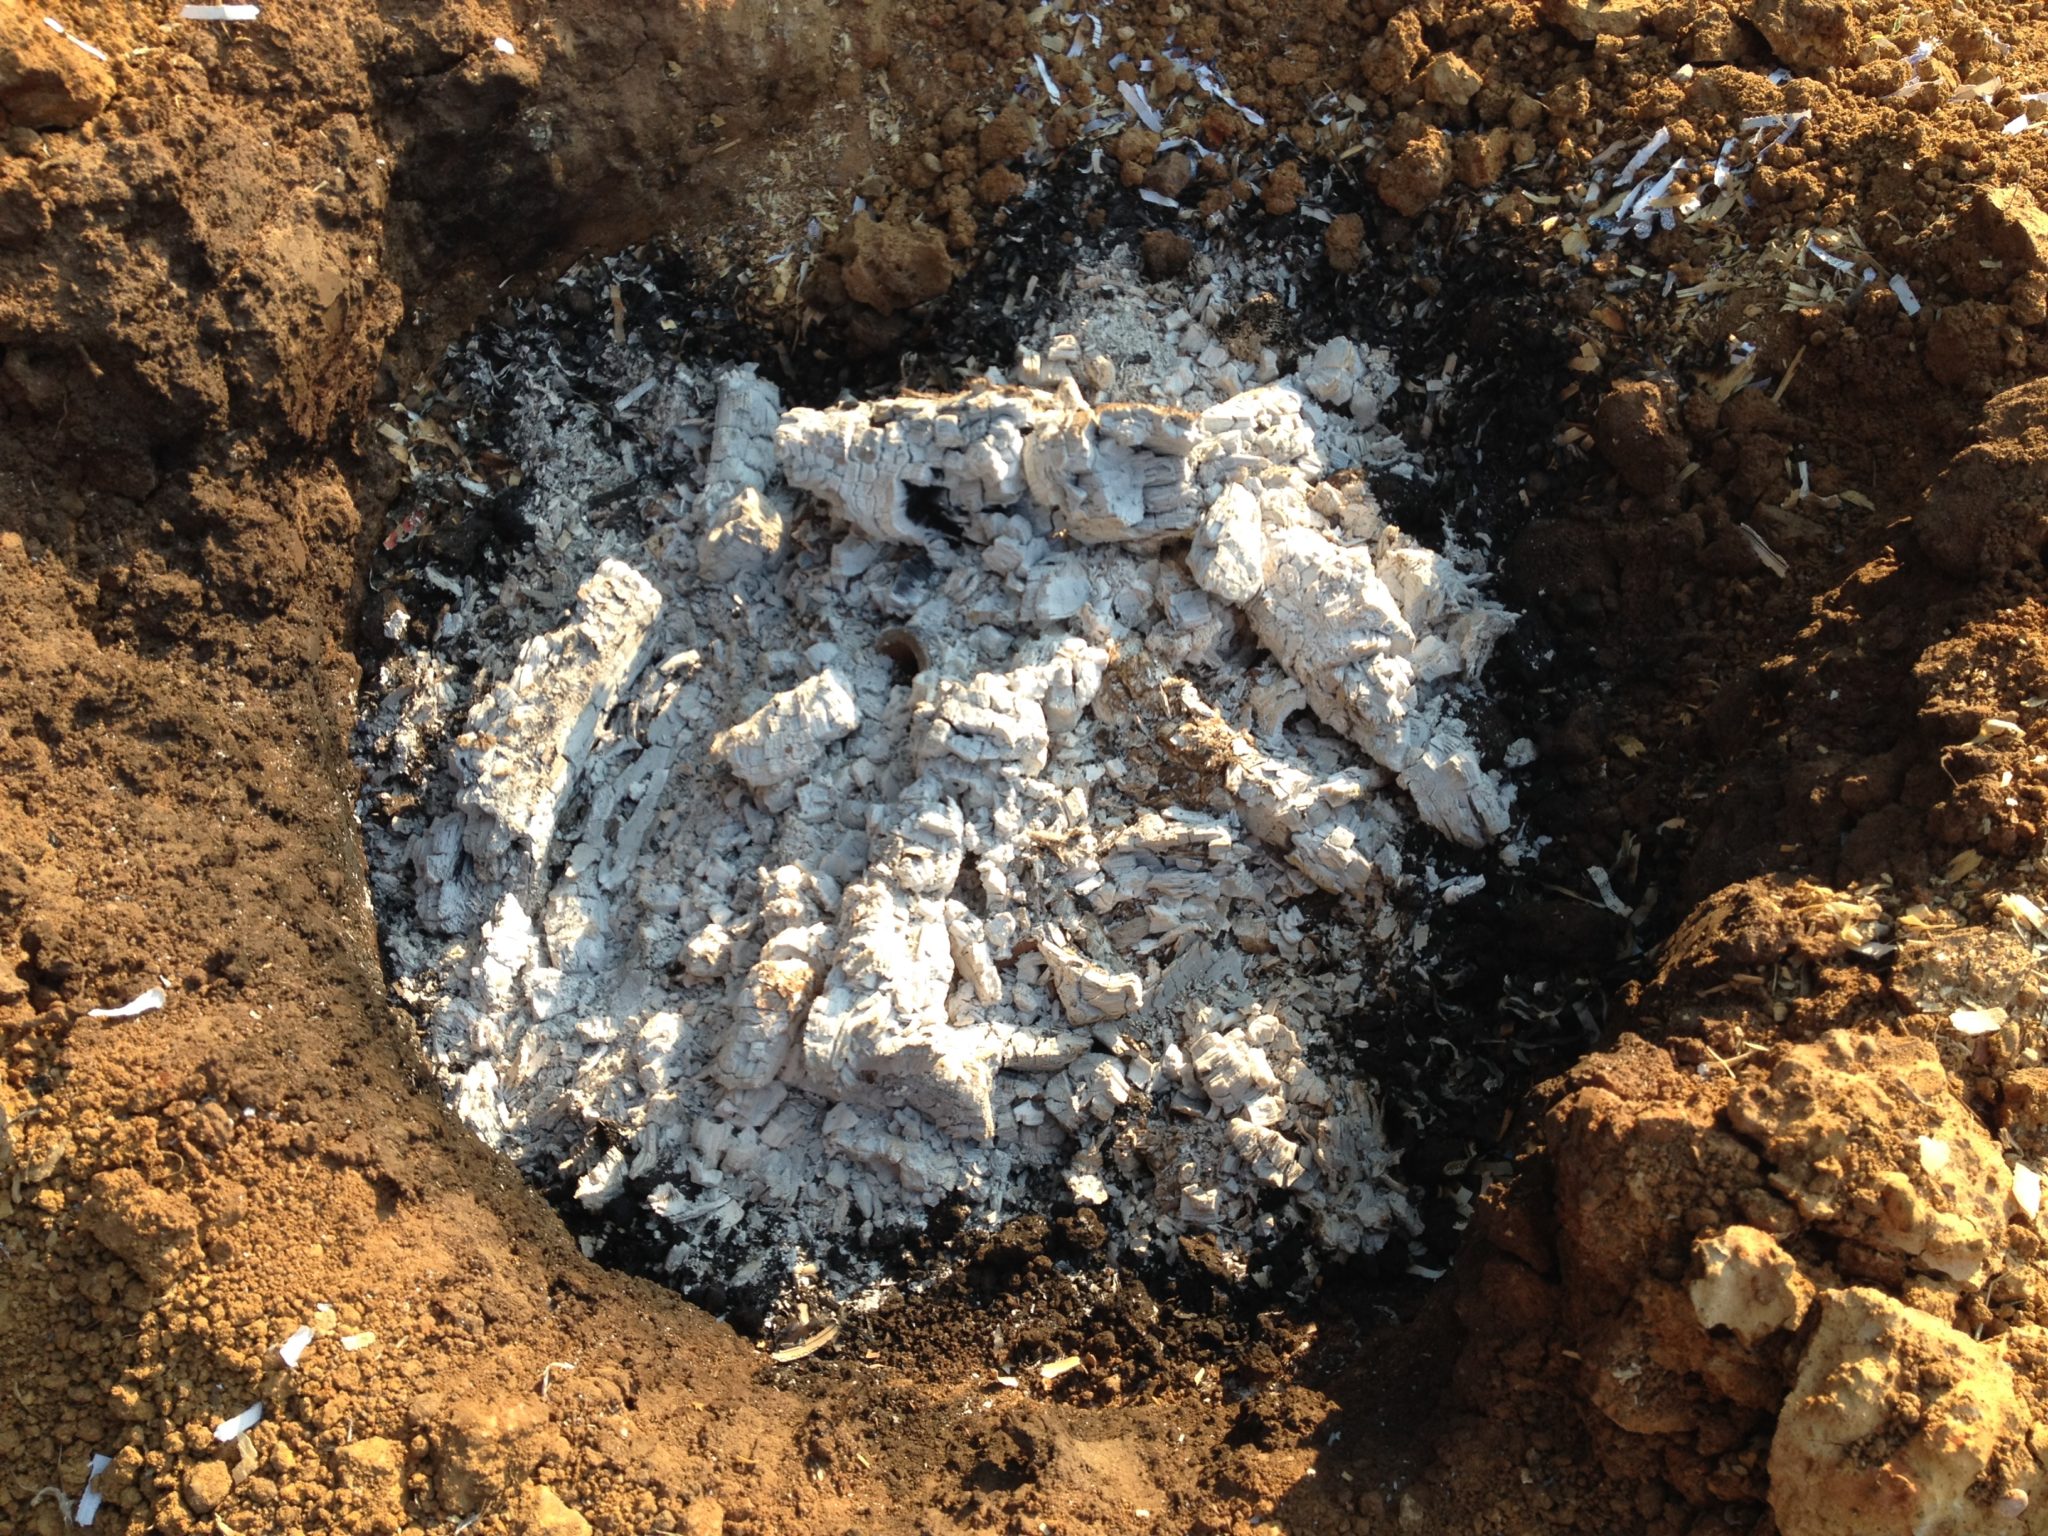
Once the fire burned down to coals, we covered the whole thing with a layer of dirt and let it sit for the next 24 hours. The dirt would limit the oxygen in the pit allowing the coals to burn longer. By the next day, the coals had finished burning down and everything was warm, but plenty cool enough to dig up and handle.
Now this was the cool part.
It worked!
None of the pieces cracked or broke and were definitely fired to pottery!
I had expected the pieces to have been blackened by the fire and coals. I didn’t expect, however, that the charring would be permanent. No worries though – we had planned on painting them anyway.
So a quick scrub-down bath with soap/water/brush and some dry-time later and we were set for paint! The water and scrubbing also confirmed the firing worked. Had it not, the pieces would have just dissolved into a pile of blackened mud but they (clearly) didn’t!
The boys loved being able to pull out mom’s tower-o-paint and go to town on their pieces. I won’t be using mine for anything other than a display of “look what I did!”, so I didn’t bother with anything fancy and used a textured spray paint I had on hand.
So at the very least, the concept has been proven. But really, I got to teach and involve my boys in what it is like to use what you have and make something from nothing!


