Letting the clay settle
So, I’m in the middle of refining my backyard clay. Which is to say, I have it sitting in buckets waiting for enough water to evaporate that I can move on to the final steps.
I was checking on them tonight, taking note of how much lower the levels were (both the settling clay and the evaporating water), and checking the consistency of the smallest batch by sticking my hand in and mixing the clay/water around).
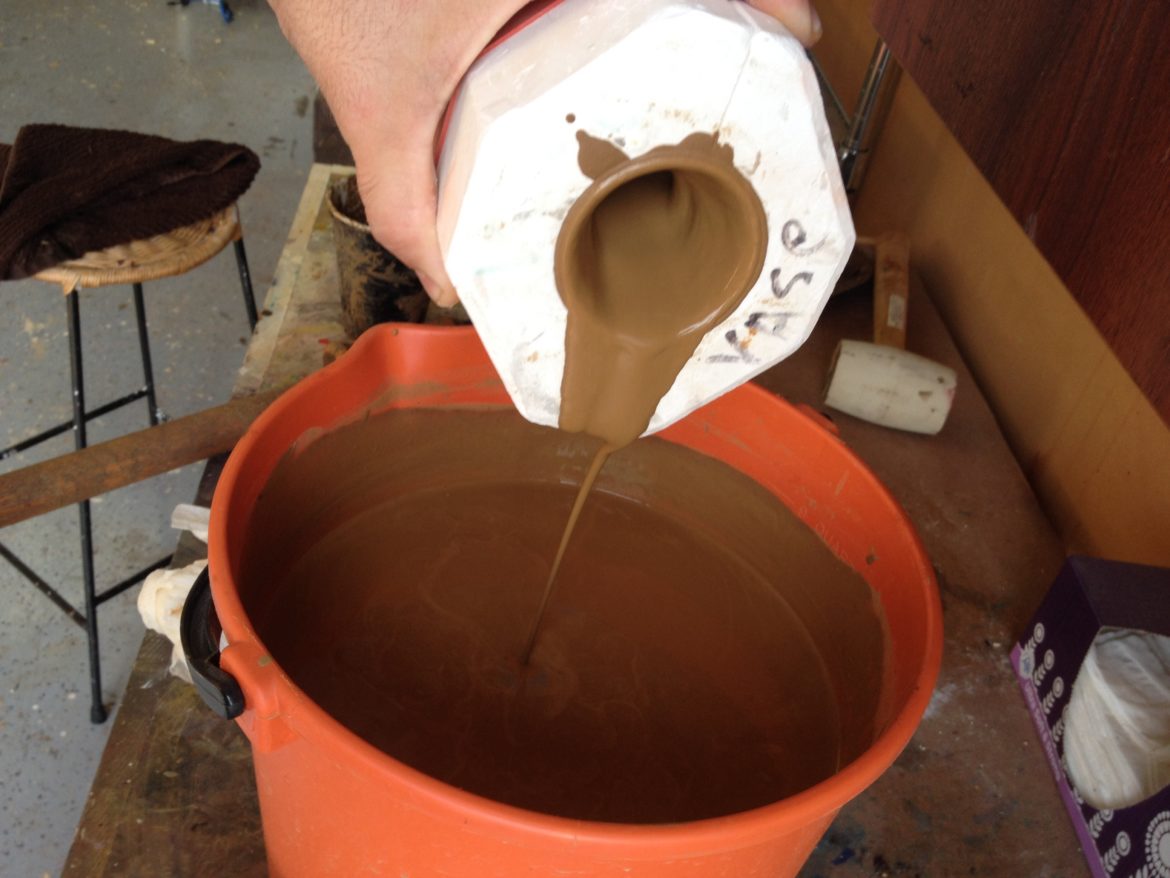
As I was mixing it around (and being quite happy with the progress), I noticed how the consistency and texture was exactly like that of the slip (liquid clay) we use when using molds and pouring ceramics.
Hmmmmm…
We have several small molds hanging around. I wondered how my backyard clay slip would work with pouring. Well, let’s find out!
I found one of our smaller molds that I always liked using – a small vase – as well as a cow-skull. The skull was really more for testing.
A high-level outline of the steps taken when pouring ceramics are:
- Dry. Make sure your mold has thoroughly dried out since its last use. A mold can’t wick away the moisture from your slip if it’s already saturated.
- Clean. Clean the inside of your mold. Any dust, dirt or debris will obviously effect the piece’s look, but its integrity as well once its fired.
- Secure. Secure the mold pieces together with a strap or band. Make sure the pieces fit together solidly without any gaps, creating a good seal.
- Pour. Pour it on in! Fill the mold until slip comes up just past the surface (the surface-tension of the water/clay mixture will allow you to pour just beyond the surface without it spilling over). If your piece has turns and angles, you’ll want to tilt &/or rotate the mold as you pour to make sure you get the slip I to all areas with no air-pockets.
- More. Top it off. The whole purpose of the plaster mold is to suck the moisture out of the slip, leaving behind a clay shell. As it does this, the slip level will drop, so,you want to pour a little more slip in to keep the level topped off.
- Wait. You want your final piece to have a thickness of between 1/8″ – 1/4″, depending on the size. My vase is small, so a 1/4″ shell seems to me to be too thick, so I kept an eye on it until it seemed to be at the thickness I was going for.
- Empty. Dump it out. If your mold has turns and angles, make sure to turn the mold in all directions as your dumping the slip out. Any excess slip left in will just add thickness to areas you didn’t want and make the dry time longer.
- Wait. Again. You want to give your piece time enough to dry that it won’t tear when separating from the mold but not so much that it sticks to the mold as it shrinks, causing cracks.
Break. The seal, that is. Once you can see the clay starting to pull away from the mold slightly, start by breaking the seal between the pieces of the mold. Then let the whole thing sit and dry a bit longer. This will allow some airflow around the piece, drying a bit more before removing it completely. - Separate. CAREFULLY. Pull one side of the mold away. To remove the clay piece from the remaining mold, a burst of air (canned air or compressor) can help separate the clay from the mold without the marks or breakage a tool can cause. In my case, I was able to lift it easily without tools or air – lucky me!
As you see in the pictures, everything went perfectly! It poured and behaved just like the normal slip I’m used to using!
Now I’ll let it sit and air-dry before cleaning up the seams and softening the edges!
All-in-all, a successful impromptu quickie of a project!


